

French Knot in Crochet and Amigurumi
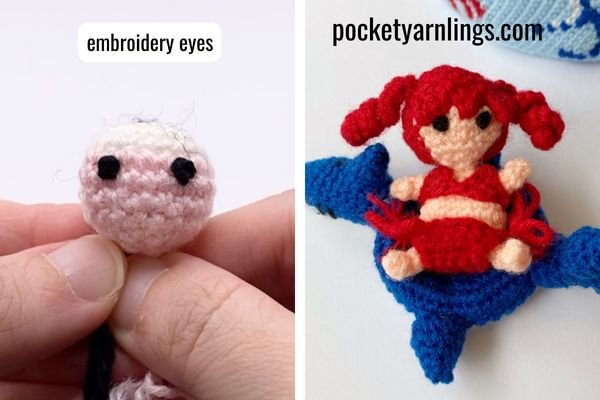
Let us talk about using the French knot stitch in crochet and amigurumi, which is an embroidery technique I love to use for my amigurumi to make it safe for my kids to play with. Since I started using this, I seldom use safety eyes for my crochet toy projects and I have also been dabbling in making variations of the french knot eyes for more eye detailing!

There are affiliate links in this post. We will receive a commission if you make a purchase through our affiliate link at no extra cost to you.
Table of Contents Show
What is the French knot stitch?
The French knot stitch is an embroidery technique used to create small, raised dots on a surface, often for texturing or detailing.
What is the purpose of French knot stitch?
The stitch is often used to add fine details to an embroidery piece. Some like to use French knots as the centre of flowers, or arranged into clusters to form a bouquet instead.
As for me and a lot of other crocheters, we love to use it as a form of eye detailing for our amigurumi. It’s easy to embroider on and a safer option than safety eyes when used in toys for kids.
What are French knots good for?
French knots are versatile embroidery stitches used to add detail, texture, and dimension to textile art. Apart from the above examples mentioned, they can also fill spaces, accent patterns, and embellish monograms, especially for embroidery projects.
Supplies in doing a French knot
What supplies do you need for making a French knot?
For the simplest scenario, you just need some thread, an accompanying suitable needle, and a fabric surface to work with. That’s all! In the case for crochet, you could use a crocheted flat piece as the surface to work on. Of course, you might want some pin markers to landmark the location where you want to place the french knot as well. To see a full list of my commonly used tools and accessories, go check out this post here on My Crochet Tools and Accessories that are Super Simple to Start With.


What kind of thread do you use for a French knot?
The most popular choice is to use embroidery floss which comes in a variety of colours. Other commonly used threads are like pearl cotton, which gives a shiny finish or even wool thread and metallic thread. In the case for crocheters, we love to use yarn!
Can you do a French knot with yarn?
Yes of course you can! This is especially so for large and more textured projects. Yarn creates a more substantial and prominent knot compared to finer threads like embroidery floss. Remember to use a suitable accompanying needle for yarn as opposed to thread. My go to yarn to make french knot for my amigurumi is Scheepjes Catona Jet Black yarn, nothing extra special of top of my usual yarn usage.

What size needle for French knot?
Choose a needle that is sharp enough to pierce the fabric and an eye large enough to accommodate the thread or yarn without causing friction. Always test your needle and thread on a scrap piece of fabric to ensure smooth stitching before starting on your main project.
In the case for crochet projects and yarn, use a darning needle with a large eye that can accommodate the thickness of the yarn and easily pierce the fabric.


25 Ideas to Supercharge your Next Crochet Doll Face
Grab this free Ideas List to get Doll Face Customization Ideas and get inspired! Just click here or on the image on the left.
Steps in doing French knot
Let us talk about the steps involved in making a french knot on a flat crochet surface first and then I will also show the steps involved in making something similar but on an octopus amigurumi instead!
How do you do a French knot in crochet?
Here are the step by step instructions for doing a french knot in crochet:
Bring the Needle Up: Bring the needle up through the fabric at the point where you want to create the knot.
Wrap the Thread: Without removing the thread from the needle, wrap the thread around the needle two or three times close to the surface, depending on how large or prominent you want the knot to be.
Reinsert the Needle: Insert the needle back into the fabric every close to (but not exactly at) the point where the needle came up. I tend to insert back into the same location.
Pull the Needle Through: While holding the thread wrapped around the needle in place, gently pull the needle through to the back of the fabric. This forms the French knot on the surface.
Secure the Knot: Pull the thread through completely, securing the knot.


Can you make a French knot bigger?
There are a few ways to make a French knot bigger by adjusting the number of wraps, using a thicker thread, using multiple strands or even a thicker needle size. The number of wraps refers to the number of times you wrap the thread around the needle before inserting it back into the fabric.
How to French knot in amigurumi?
The steps are very similar to what was mentioned above. For a french knot on a crochet project like a garment or a blanket, the embroidery is on a flat crochet surface, like what I mentioned earlier. As for amigurumi, the French knot would be on a 3D crochet piece, just treat one side of the piece as the fabric to work on, like in the octopus example below.
Here are the steps involved in doing a french knot in amigurumi:
1. Use glass eyes to landmark eye placements.
2. Thread in through head and out through to desired eye location.
3. Without removing yarn from needle, loop yarn close to head around needle twice.
4. Insert needle back into intended eye position.
5. And out through head again.
6. Insert back into top of head and out through next eye position.
7. Without removing yarn from needle, loop yarn close to head around needle twice.
8. Insert needle back into intended eye position.
9. Pull out needle through top of head again.
10. Cut off excess yarn and conceal ends inside head.


Troubleshoot making a french knot
So it is one thing to see the steps in making a french knot or even a video on it, but testing it out is a different thing. When I first started off, I had to try it out many times before I got it right too. Even then, I still had to keep trying it out to get the perfect sized knot that I wanted for my amigurumi eyes. So here are some troubleshooting tips!
Is a French knot stitch hard?
The French knot stitch can be challenging for beginners due to its precise technique, but it becomes easier with practice. The difficulty lies in managing the thread tension and positioning the needle correctly. With time and experience, you’ll get better at creating consistent and neat knots.
Why won’t my French knot work?
If your French knot isn’t working, some common issues include too tight thread tension, wrong needle size, stiff fabric, wrong needle position and attempting too many wraps.
For me, I struggled with tight thread tension. Too much tension can make it difficult to pull the needle through, while too little can cause the knot to pull through the fabric.
So ensure the thread is taut but not overly tight. This can be achieve with anchoring the knot correctly by holding the thread taut and pulling the needle through slowly.
Why does my French knot keep pulling through?
I also had the issue of the knot going through the crochet surface. This was because I pulled the knot too taut and it went right through because the crochet surface was too ‘holey’.
Another way to counteract this is to reinsert the needle close to the exit point but not in the exact same spot. This ensures the knot stays on the surface.
Remember that French knots often require practice to become perfect. If you're new to the stitch, keep trying and adjusting your technique and sooner or later, you will get it!
If you found this article, remember to pin the image below to Pinterest so that others may benefit from it too!

Conclusion of using a French Knot in Crochet
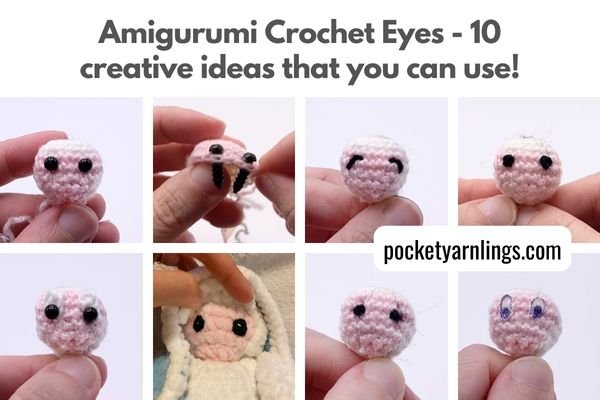
Hopefully you have a clearer understanding of how to make a french knot in crochet as well as its uses! This is my favourite go to method for my amigurumi eyes and I will definitely be trying variations of it in the future. If you are thinking of what other amigurumi crochet eye methods there are, remember to check out this blog post on “Amigurumi Crochet Eyes - 10 creative ideas that you can use!”.
Don’t forget to check out the videos above and subscribe to my Youtube Channel so that you will know when new videos are released! Also, I have this free ideas list to grab below on “25 ideas to Supercharge your Next Crochet Doll Face” which has been taken from my Doll Face Shaping Course. Thanks for reading and remember to share it if you found it useful!
25 Ideas to Supercharge your Next Crochet Doll Face
Grab this free Ideas List to get Doll Face Customization Ideas and get inspired! Just click here or on the image on the left.