Crochet Tutorials.
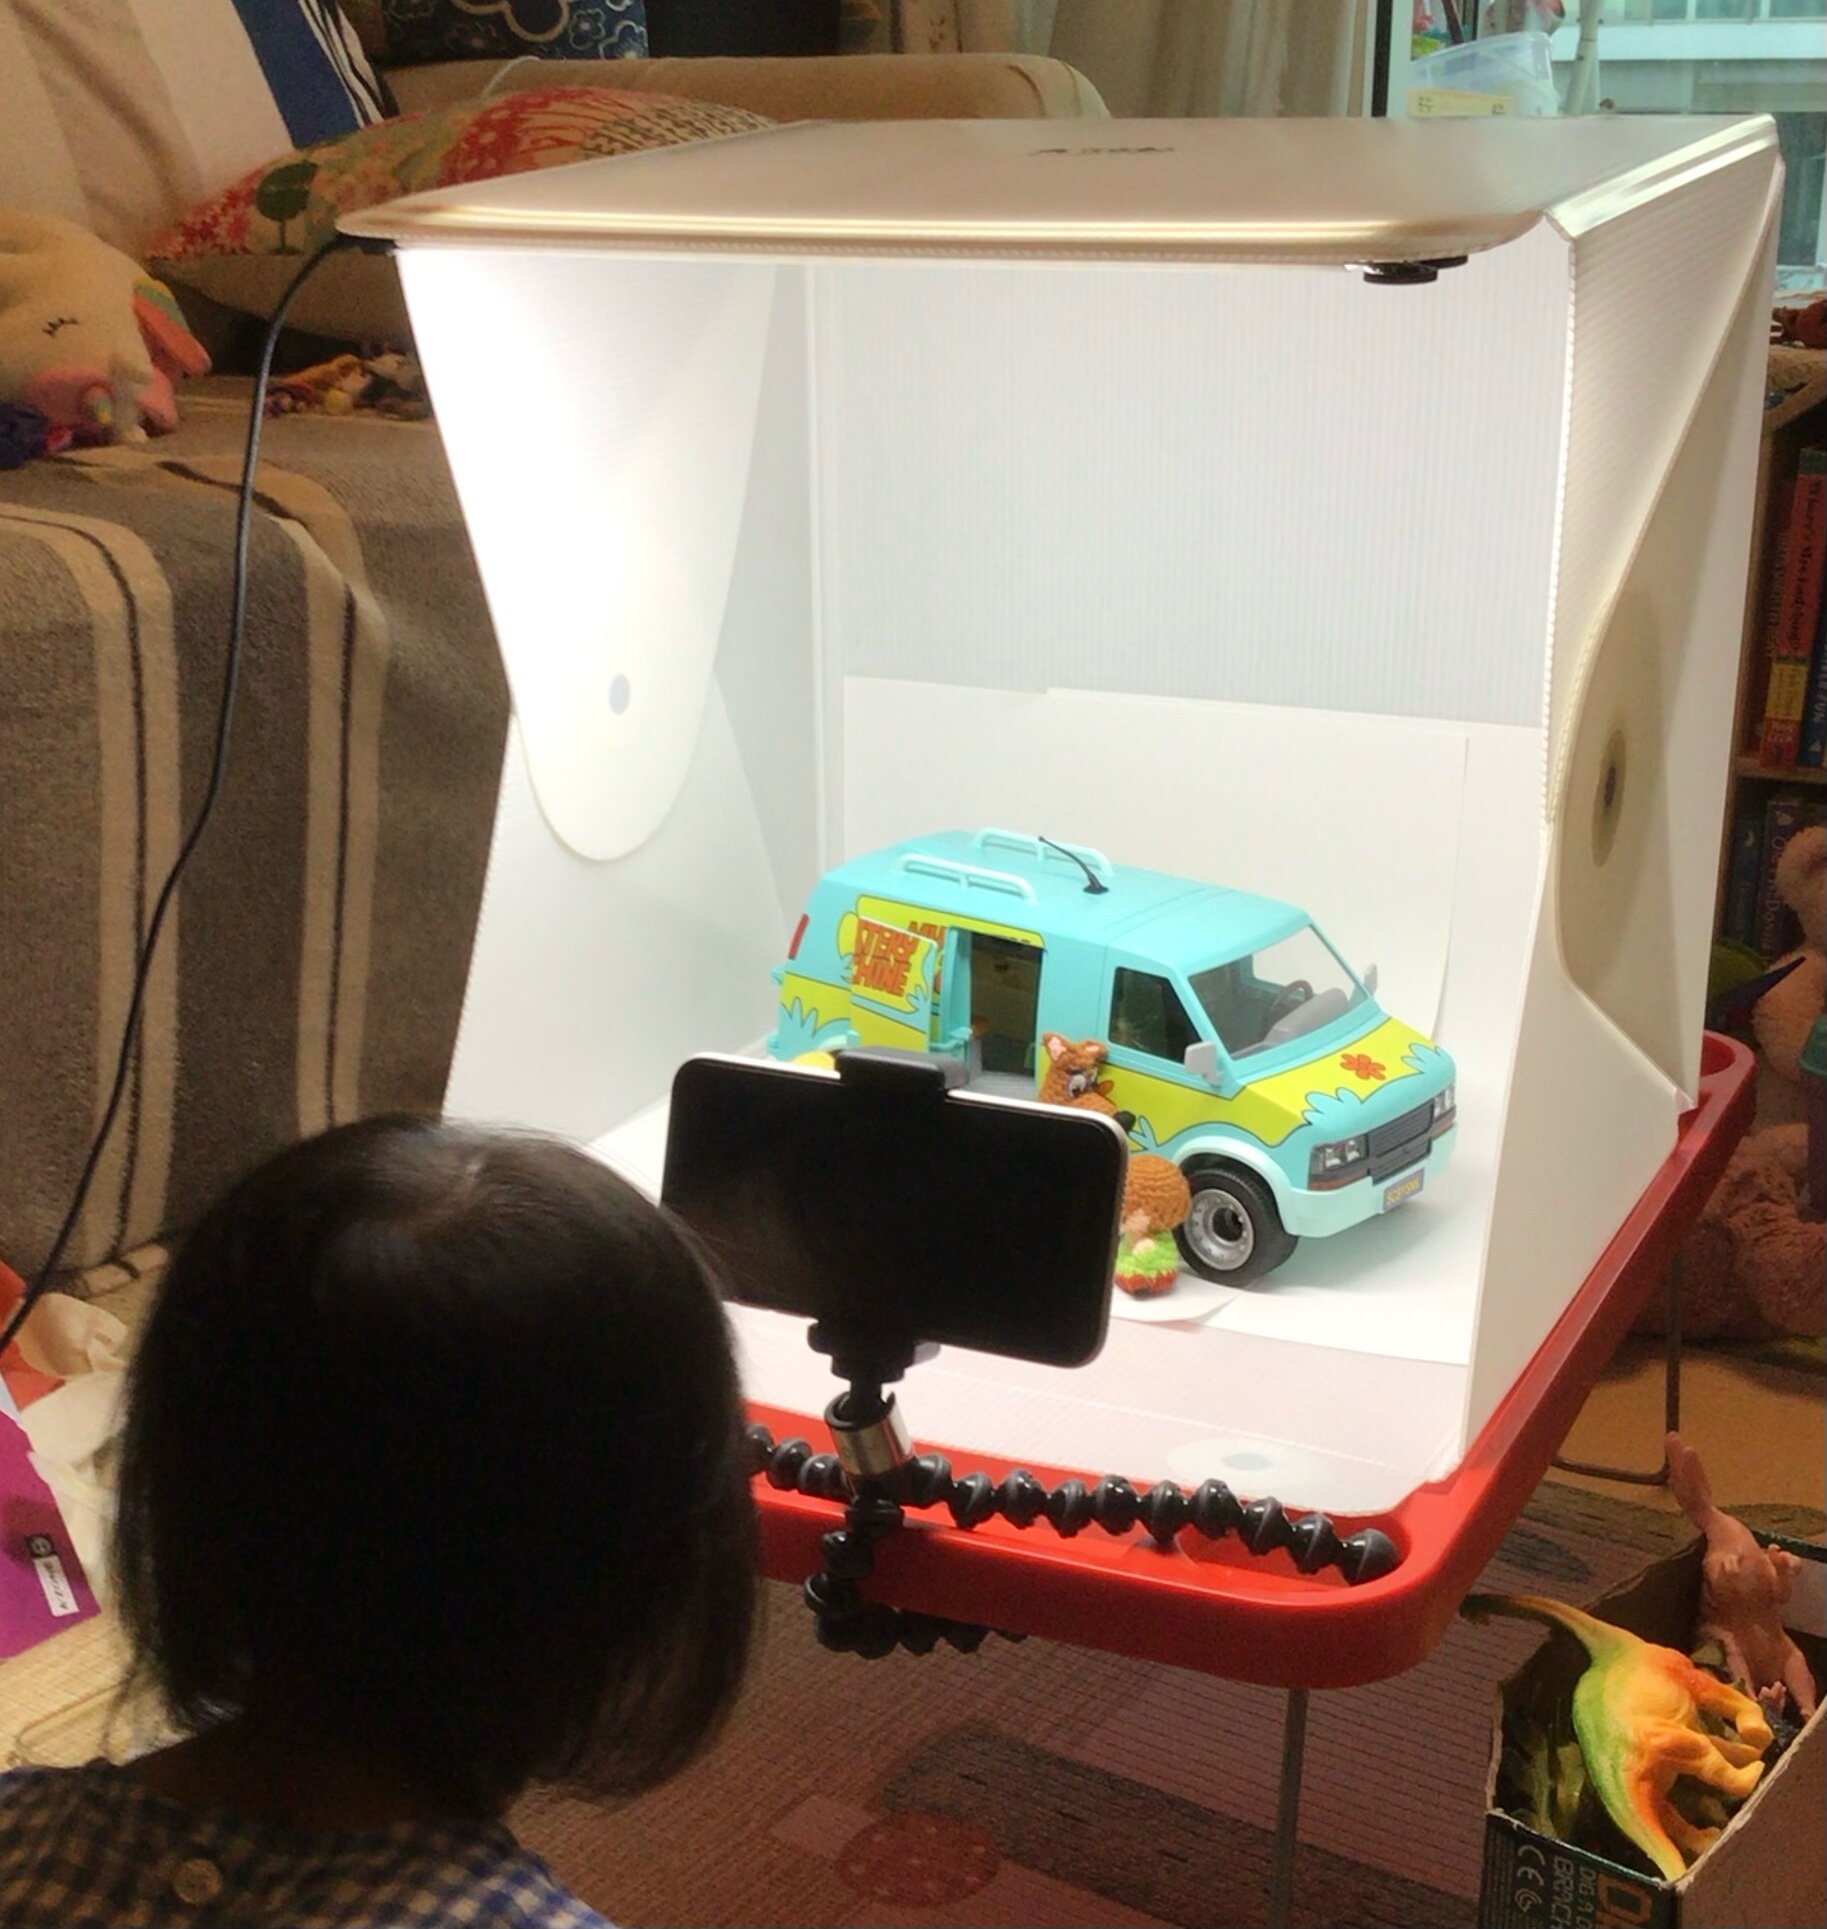
I have a series of random stop motion animations I decided to make using my daughter’s toy furniture sets as props. They were mostly linked in my old blog but I haven’t had much time porting them over or sorting them out yet.
If you have seen my previous Circular Series, this time it’s all about my Oval Series up next! I have broken it up into 2 parts - the first 3 tutorials are about making oval or ovoid shapes, the next 5 parts is about making pointy ovals (if that makes sense)!.
‘Making Basic Amigurumi Bodies’ showcases 9 different techniques to make a basic humanoid amigurumi body and is a great companion to my free 'Amigurumi Making Basics’ ebook.
Surface crocheting is another one of my favourite techniques for making amigurumis, whether it be detailing or even the limbs. This method allows for attachment of separate pieces without the sewing involved at all! I have previously used it in various ways, read on more to see what I mean.
I love adapting random crochet techniques into Amigurumi making. This time I turned a popular textured crochet technique for blankets into feet for my amis! Using this special stitch allows me to make standing amigurumis! Read on to find out more.
My previous blog article touched on 3 different methods I use to attach limbs onto amigurumi and the first technique was the seamless technique. From this technique alone, I had a bobble stitch method, an extended half double crochet method and an extended bobble stitch method.
Ok guys, so I’m super excited to reveal my latest series of videos (apart from the Shapes series videos)… and this time, it’s all about how to make this little guy - Ben in his swimming trunks! This time, I have decided to make it different, it’s my first time trying out something like this…
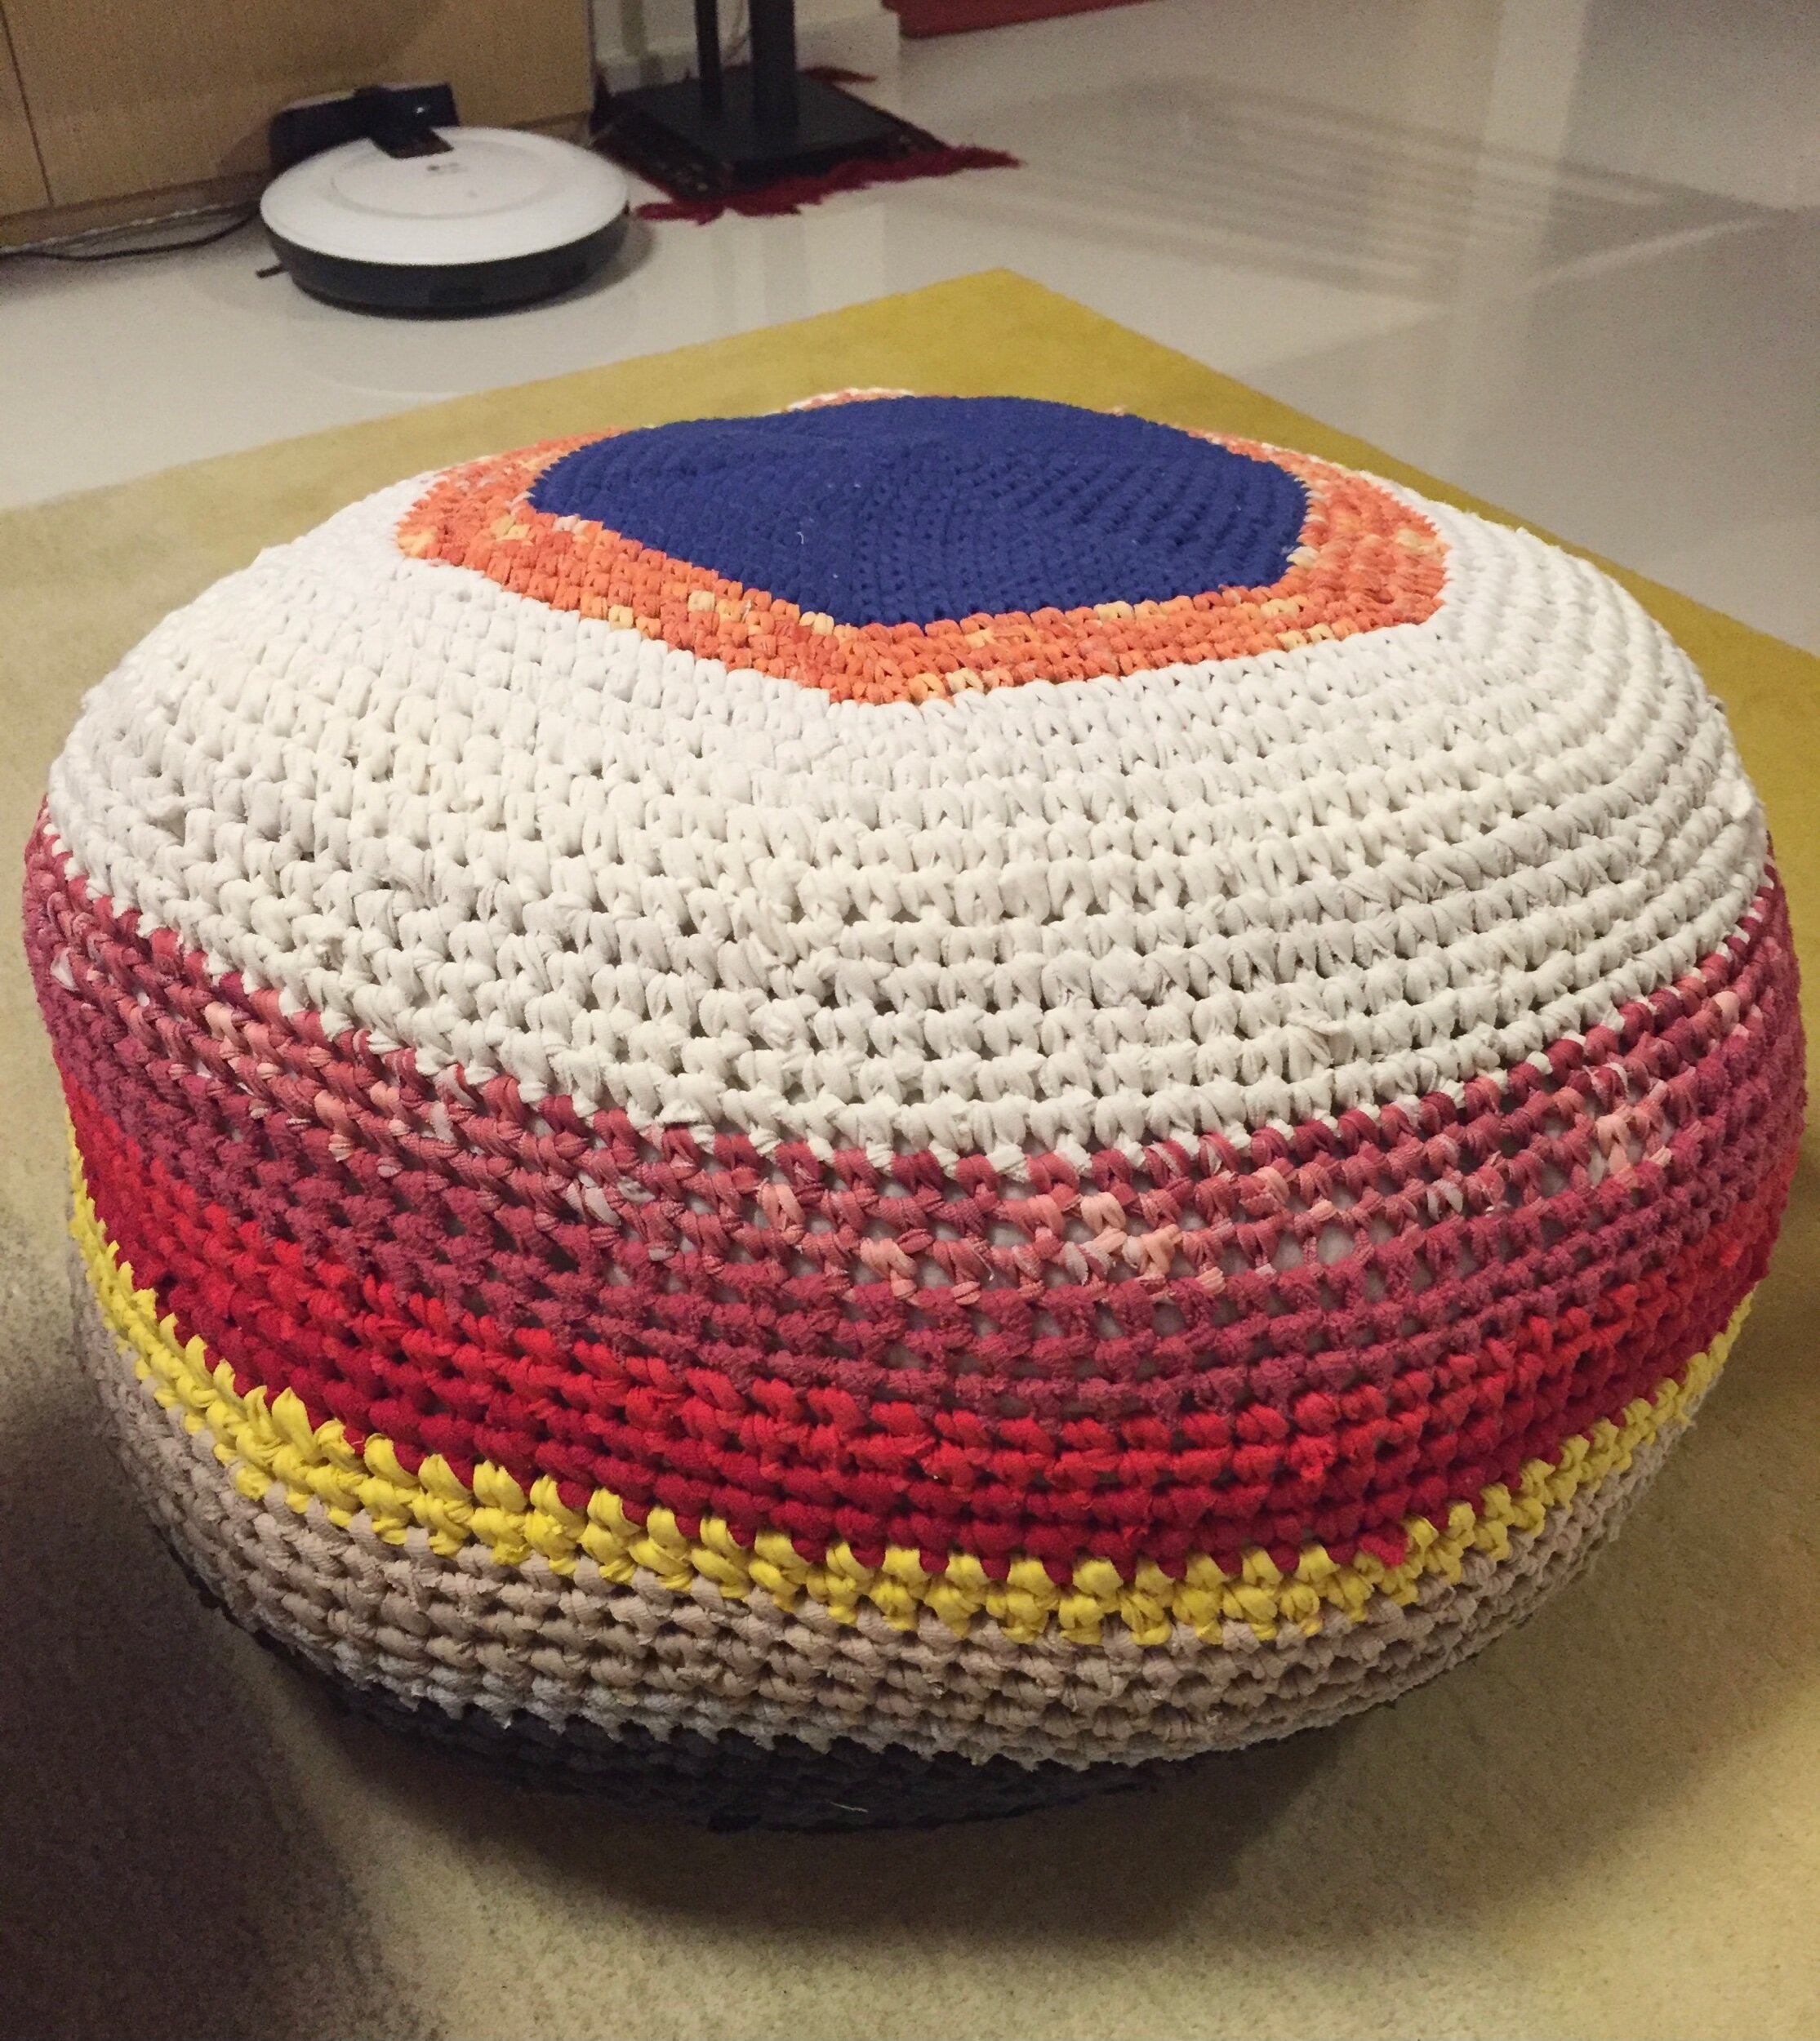
While we are on the topic on making spheres and cylinders, this was my biggest (and longest) experiment that I did back in 2016. I was trying to make a DIY furniture pouf for my new home back then. Cue the image just below was what I was hoping for. BUT the catch was I wanted to use old recycled T-shirts from my old home!
Guys, I’m so exciting about showing you this! It’s been something I’ve been working on for a while. It’s basically an accumulation of all the different hairstyle techniques I used for all my past amigurumi collections!
This time, I will be covering hair-head attachments. These techniques are more for attaching wig caps to the Amigurumi heads. I know some crocheters like to use glue but for the purposes here, it will all be sewing techniques.
Adding back ponytail or side pigtails is a great way to simulate a long tied up hairstyle. It involves crocheting a separate piece and attaching it onto the head at various different locations.
Making fringes can add additional detailing to the hairstyle of the amigurumi. In this case, I am making a centre-parted fringe. This is arguably one of the most frequently used type of bangs because it is a frequently used hairstyle.
Thor on the left has a wig cap, whereas Thor on the right has yellow yarn hair sewed directly onto the head. There are different methods to make amigurumi hair and the final results can look quite different. Check out this old post on 5 ways to make amigurumi hair, if you have not seen it previously.
My first attempt at doing Tunisian crochet! This time it’s for Tiana from Princess and the Frog. I was experimenting with making her dress and I decided to make 3 skirt layers. Read on to see how I used Tunisian crochet in her skirt.
I love adapting random crochet techniques into Amigurumi making. This time I turned a popular textured crochet technique for blankets into feet for my amis! Read on to find out more.
If you can see Rapunzel or Snow White’s shoulder pads more carefully, they are actually made up of bobble stitches which are made up of mixed colours. From making bobble stitches to making mixed coloured bobble stitches… let’s dive in!
In making my Princess series, there were a lot of varying dresses and gowns techniques I tried out to make them look slightly different and unique.
Making tall stitches helps to add height to your stitches, and in this particular example, I had to use tall stitches to make Belle’s dress. For her, I actually used quadruple treble crochet (qtc) or yarn over 5 times! This might sound complex but once you nail down a basic tall stitch, the rest is just about how many times you yarn over at the start.
Directly crocheting onto Amigurumi can sometimes create a detailing effect that can turn out interesting. The best part about this is that there is no need for sewing!
This is my simple way of making a quick pointed tip and it is very similar to how you make a simple cone. I often use it to make beaks for my birds and in this case for Owl.
Have you been confused before on what a pattern means when they say rotate or go around?
What it actually means is crocheting on the other side of the foundation chain. This is a great method for creating leaves or ears like I made for Rabbit above.
In this tutorial, I’ll go through step by step on how to do a surface single crochet (or surface sc) and how I did it on my Pooh Bear to make his T’shirt ‘pop’!
Mastering how to make the basic crochet cord makes for a useful skill in making amigurumi. In this particular case, I used that technique to make Loki’s horned helmet as well as his embellishments on his clothes. Read on to see how to make a basic crochet cord.
I have tried figuring out for a long time how to make a bobble stitch extend outwards. If you have seen my previous post on making bobble stitches as amigurumi limbs, then you know that I prefer to make the limbs as part of a continuous stitch from the main body, because c’mon, who likes sewing? ;)
When making miniature Amigurumi, sometimes it can be difficult to add in detailing over the body and clothes. After all, there isn’t much room to work with but you still want them to look as detailed as possible within a small surface area.
Like most crocheters, I find joining up the limbs a real drag. Since I prefer to making most of my amis mini, I tend to make the limbs as part of a continuous seamless stitch when I’m crocheting the body.
This is a short tutorial on how to make your own homemade mobile from an embroidery hoop, which you can just get from your regular craft store or online. I actually prefer a hoop mobile to a cross mobile, mostly because you can choose to hang more items on it. You can basically choose how many strings to add on, in any part of the hoop!
Mei was actually the favourite Overwatch Yarnling I made - at least I felt she resembled the original character the most. I even made her fatter than the other girls in the series (!!!).


Making facial hair is a great way to add detailing to a face. There are many different ways to make moustaches, beards or both of them combined. Using simple yarn to sew on is the easiest. This time, I’ll be showing how to crochet it!