Colour Work complementing Amigurumis!
Oooh so this is something exciting that I’ve been trying out to complement some of my amigurumis. Some of my recent collections, I have been trying to include a sort of ‘container’ to house the amigurumis. So this time, I decided why not doll up the container with some colour work too! Here are some of the steps involved in making my latest Easter Egg!
1) Start off with finding the solid medium, where crochet is wrapped around
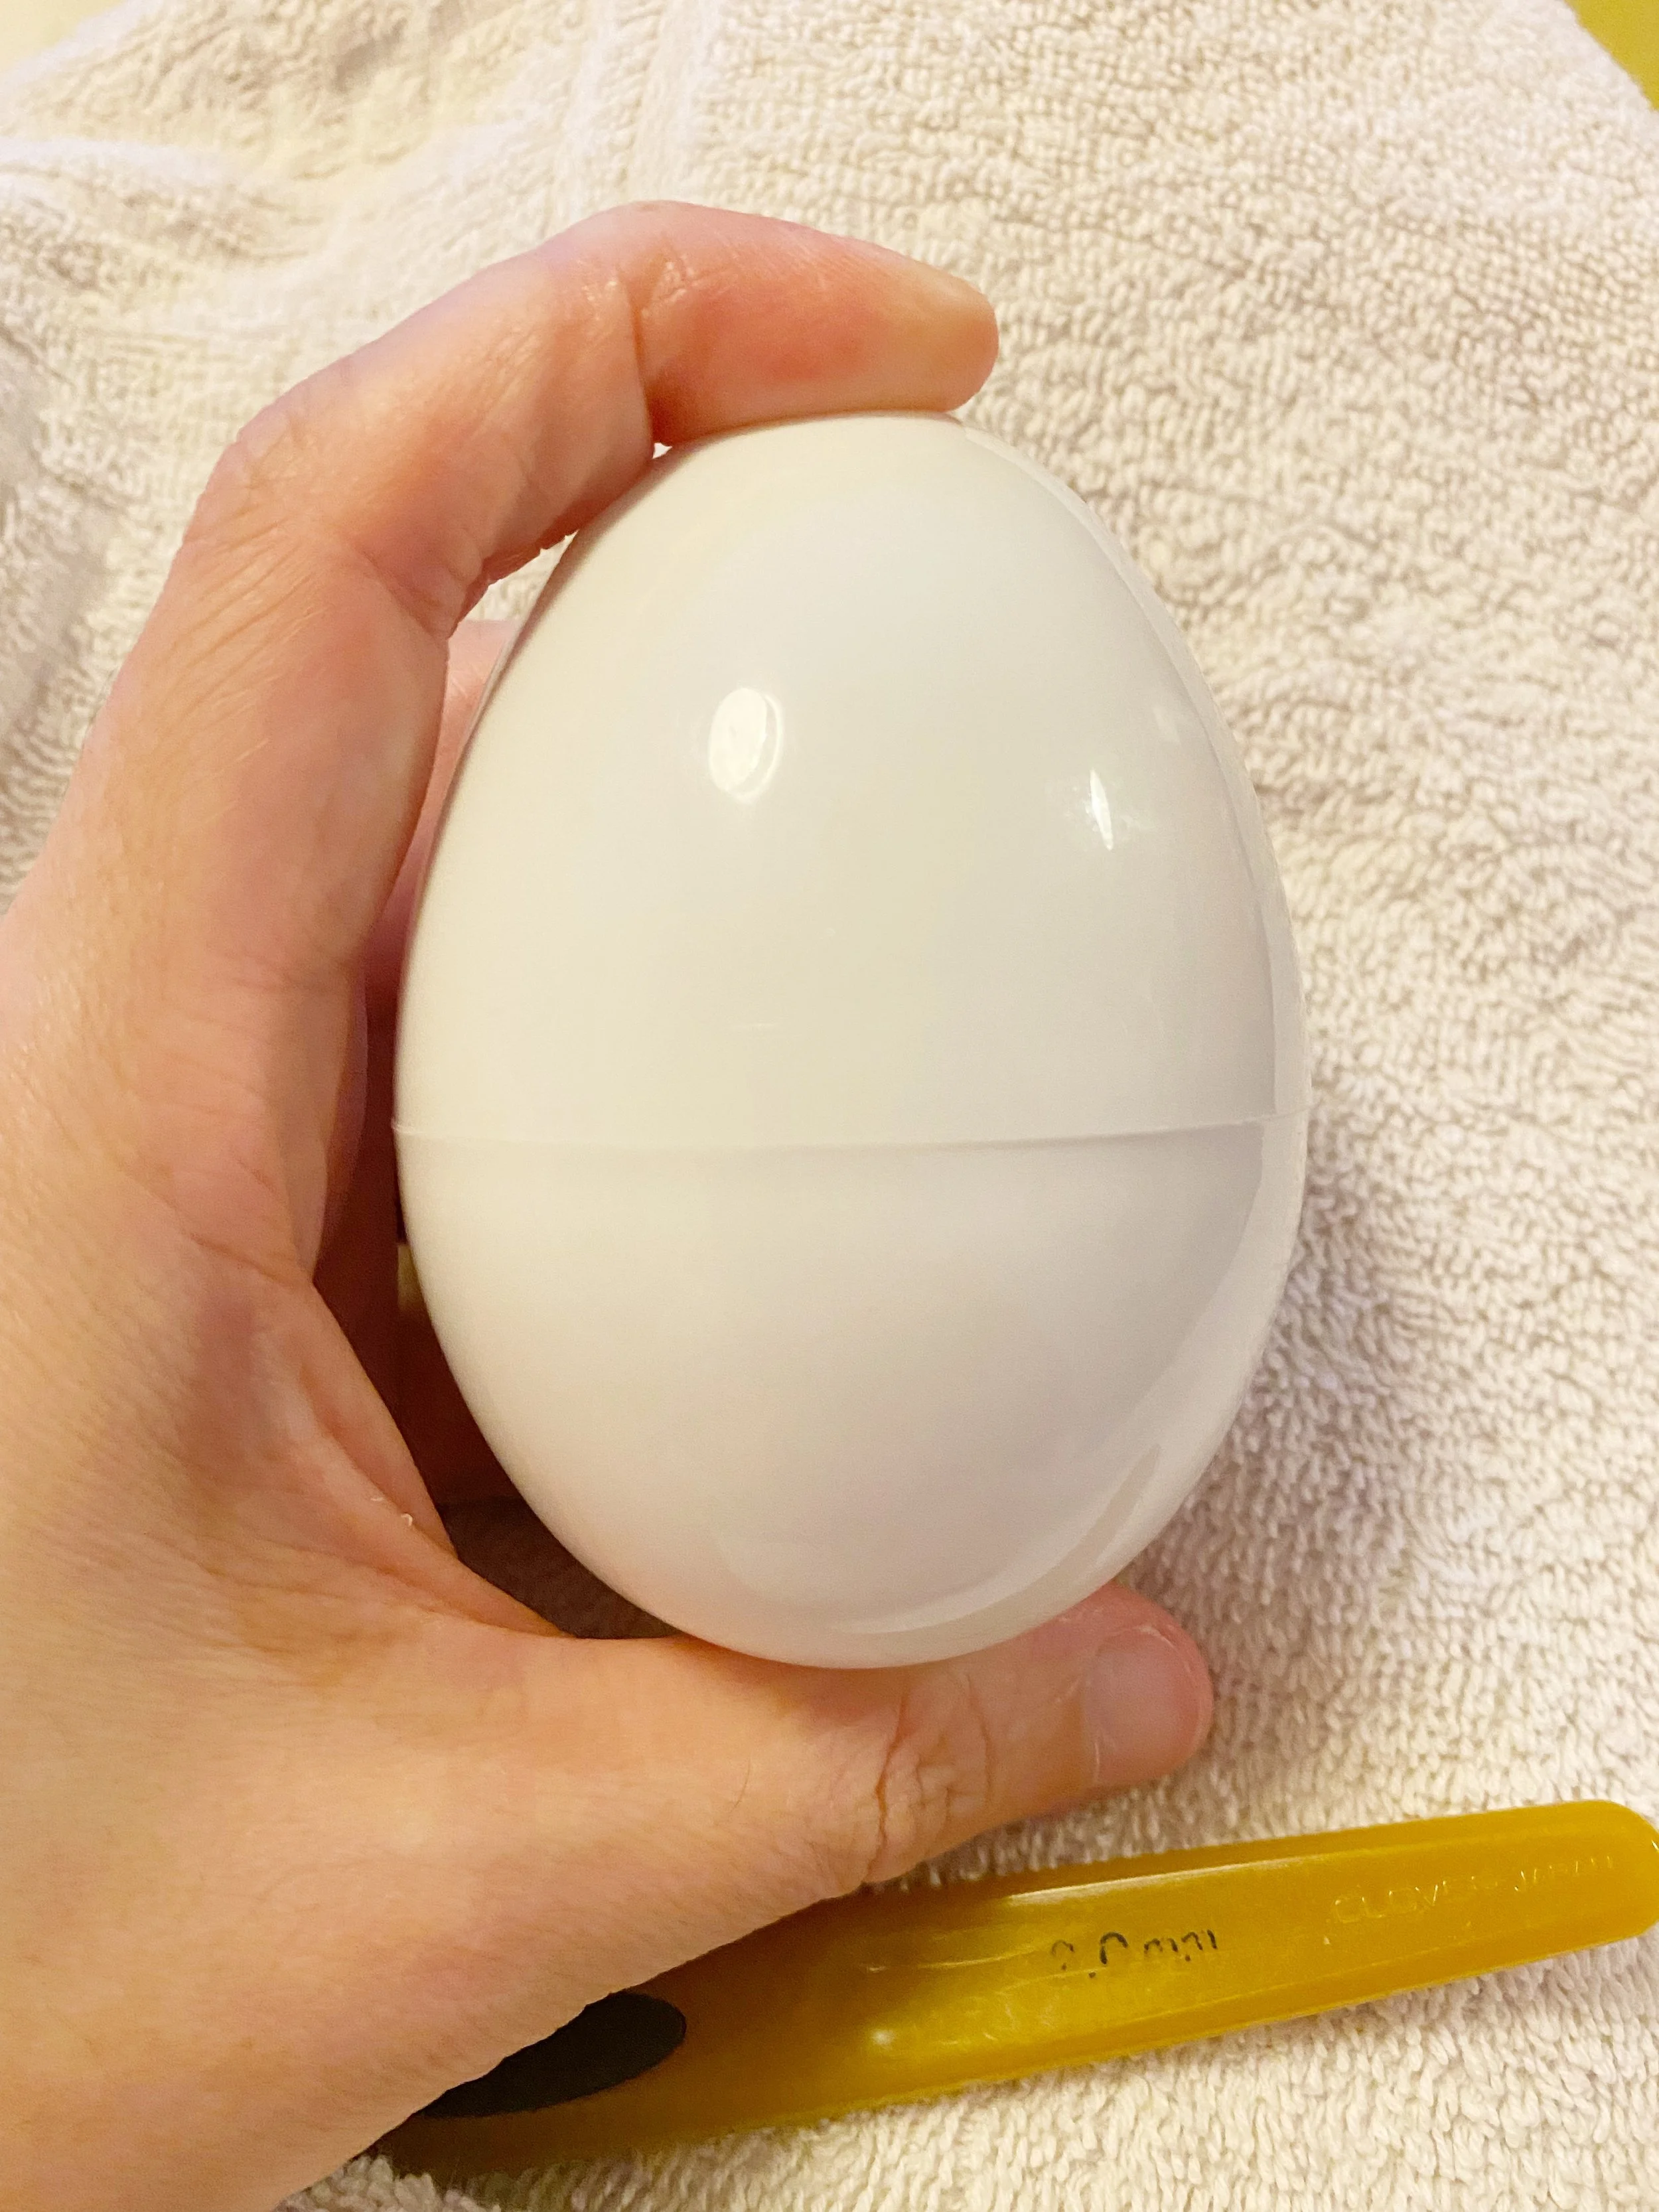
This really depends on what you intend to crochet around. So for my previous examples, I made a tent and an ice cream truck, which both required plastic non slip mats but those were mouldable according to my pattern. In this case, I had to work my crochet pattern around an existing unmouldable medium, which was a plastic egg made of up 2 separate pieces.
2) Making basic egg crochet pattern
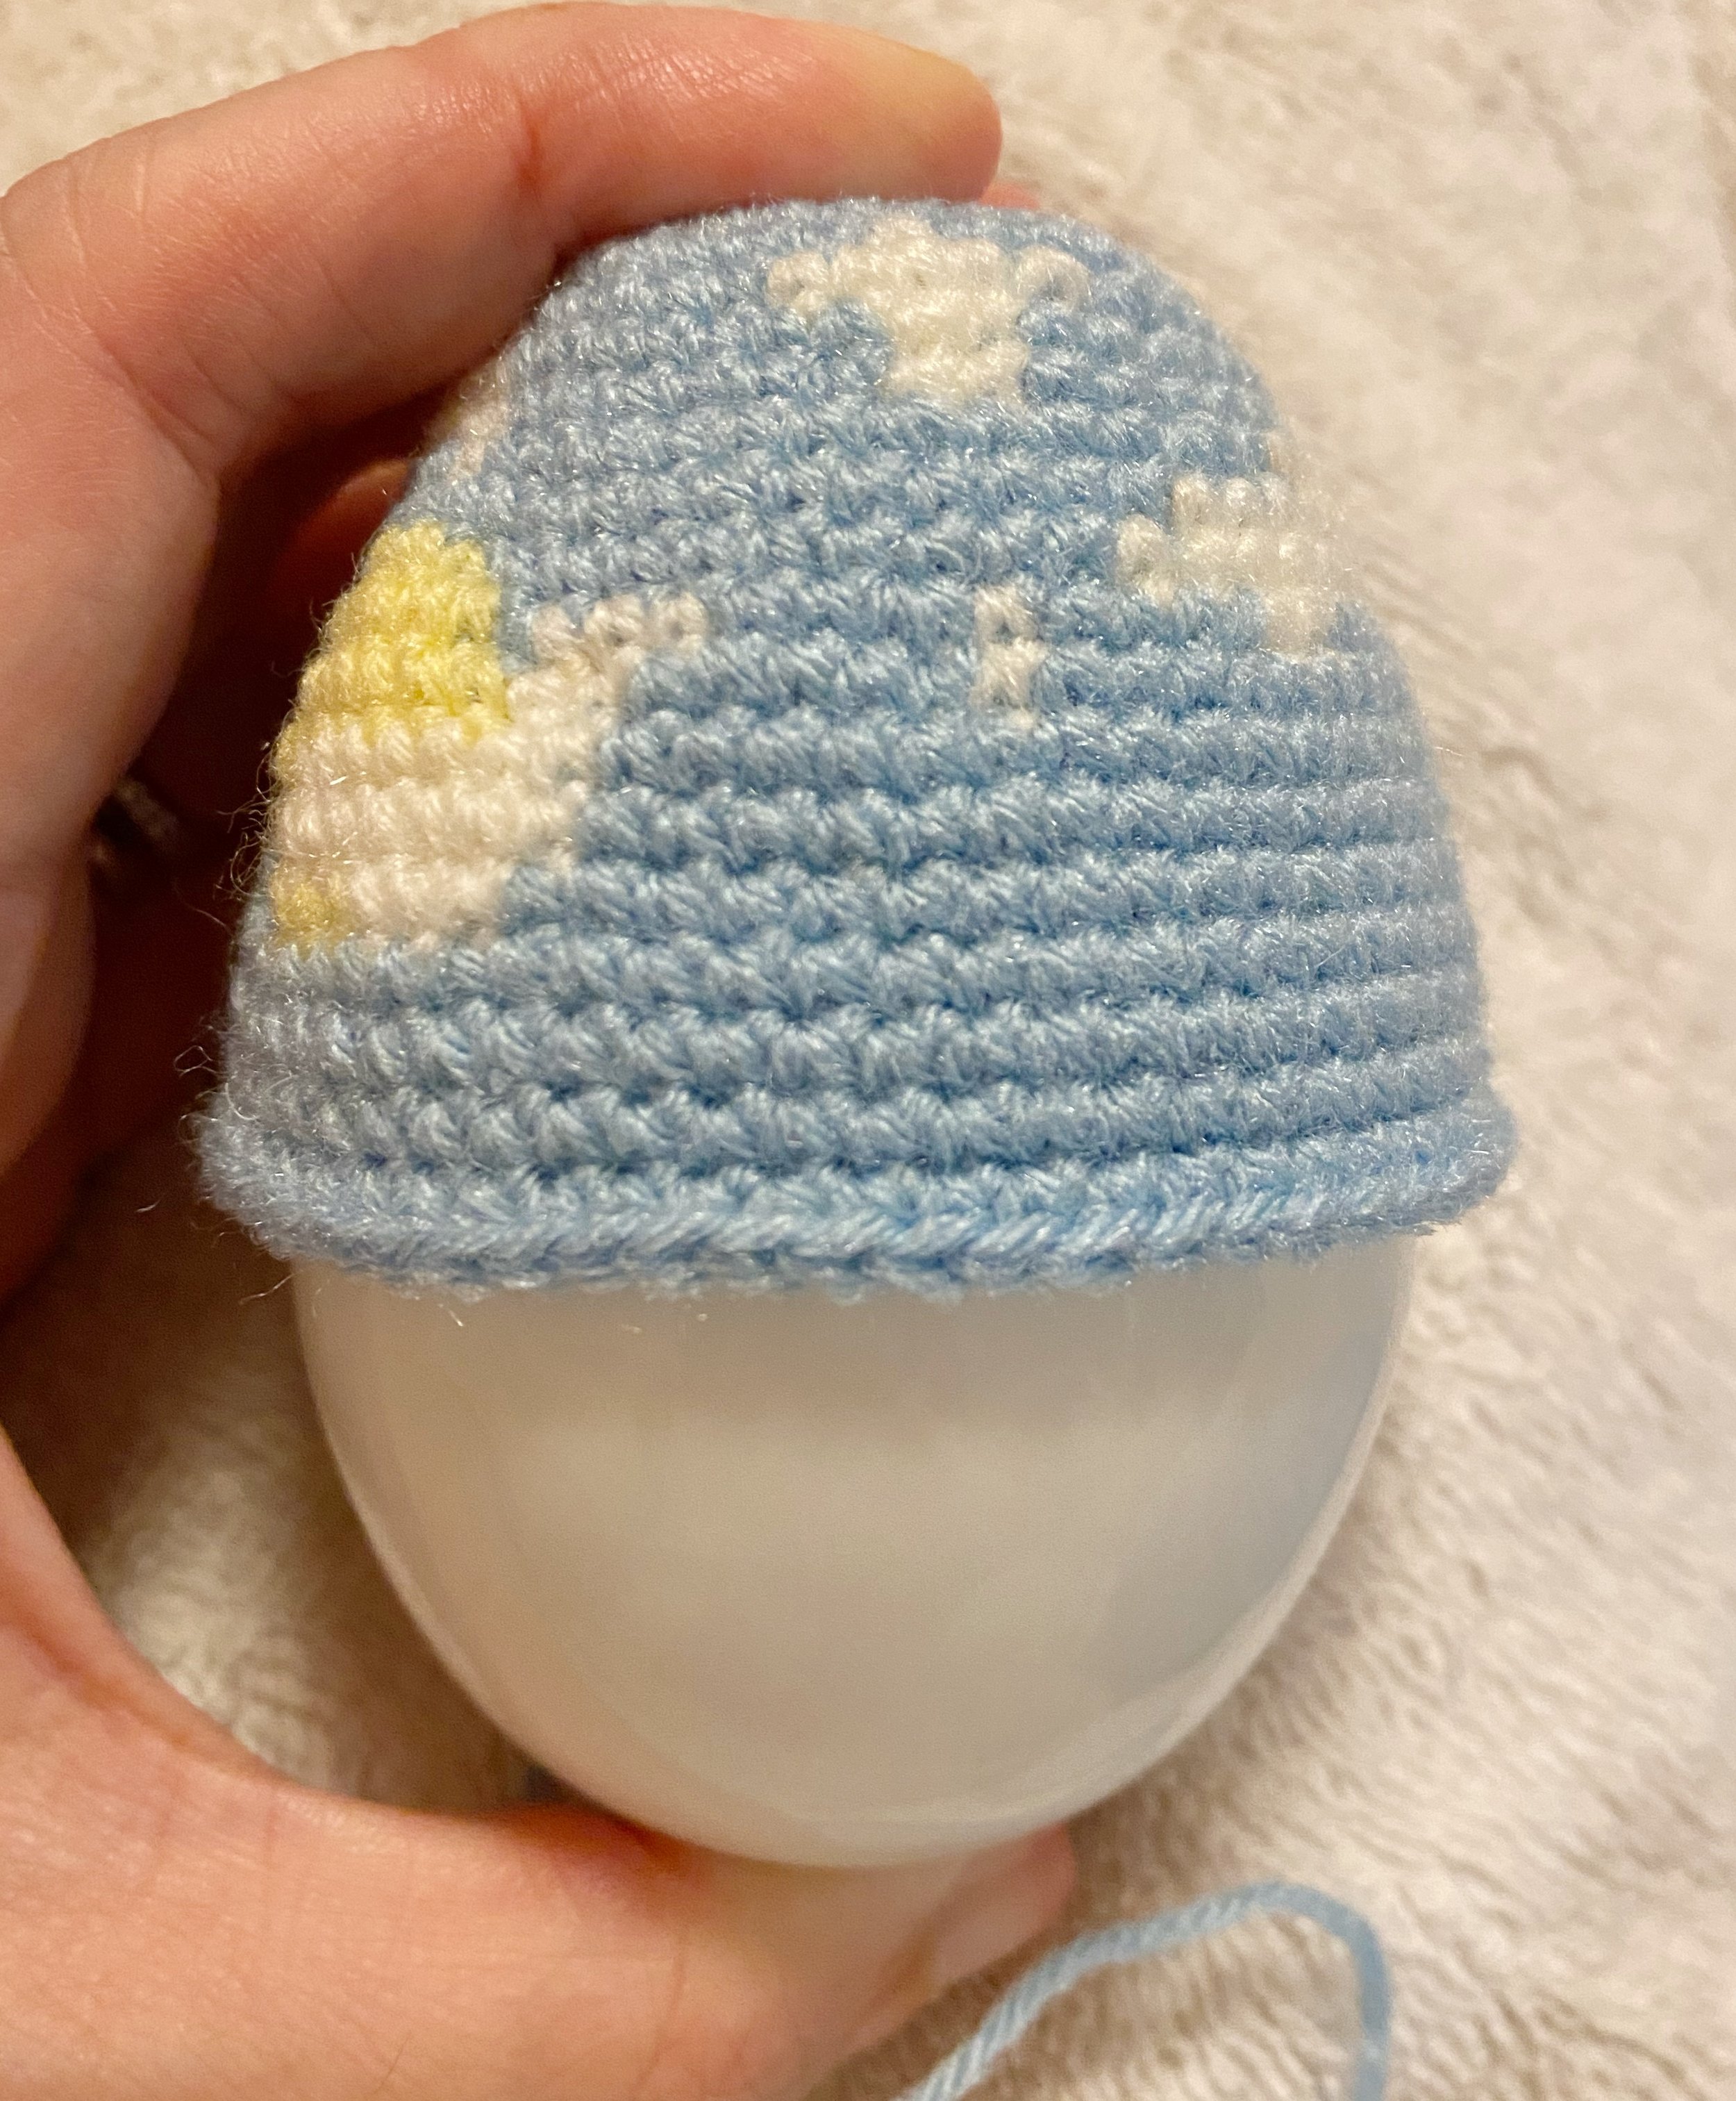
I started off creating a crochet pattern for the egg itself like in the picture below. As you can see, if I created a single colour for each piece, it turned out fairly dull looking. The alternative was to make alternating colour changes in the pattern which was pretty simple to accomplish as well. But that was not the effect I was trying to create. Just to get the base crochet pattern to fit the egg nicely, I had to experiment using single colours first.
3) Visualizing the colour work using pixel art
There was this free iPhone app download called Pixel Art which starts off with the screen on the left, with a blank canvas. With some experimenting and ideas I got from pretty simple outdoor landscapes, I came up with my own version of a landscape. In this case, it was not so straightforward like a rectangular or square shape, it was an egg shape. So based on my crochet pattern, I created the pixel art with the corresponding number of stitches starting from 10 at top all the way to 60 stitches at the bottom.
4) Converting the pixel art into crochet format
After ‘drawing’ out a rough set of colours on the pixel art app, I started to translate it into crochet format with the same colour changes. Writing the pattern for this was pretty challenging because of the colour changes, but when supplemented with the pixel graph, it was easier to read. The colour change work was no different from regular amigurumi because it was done in a round. If the colour work was to be done back and forth in a row, it would be totally different altogether.
Some progress in work downwards. The sun is peeking out among the clouds!
5) Completing the top and bottom pieces separately
As I intended the crochet pattern to wrap around the egg, I had to make 2 separate pieces for the top and bottom. If it was made in one continuous egg, I suppose you could stuff it and make it into a toy egg. But my intention was for it to become a container to house my amigurumis. After I finished the top half of the egg, I moved onto the bottom half as well. The pixel art was a separate image and the piece made separate altogether.
6) Repeating for the inner surfaces as well
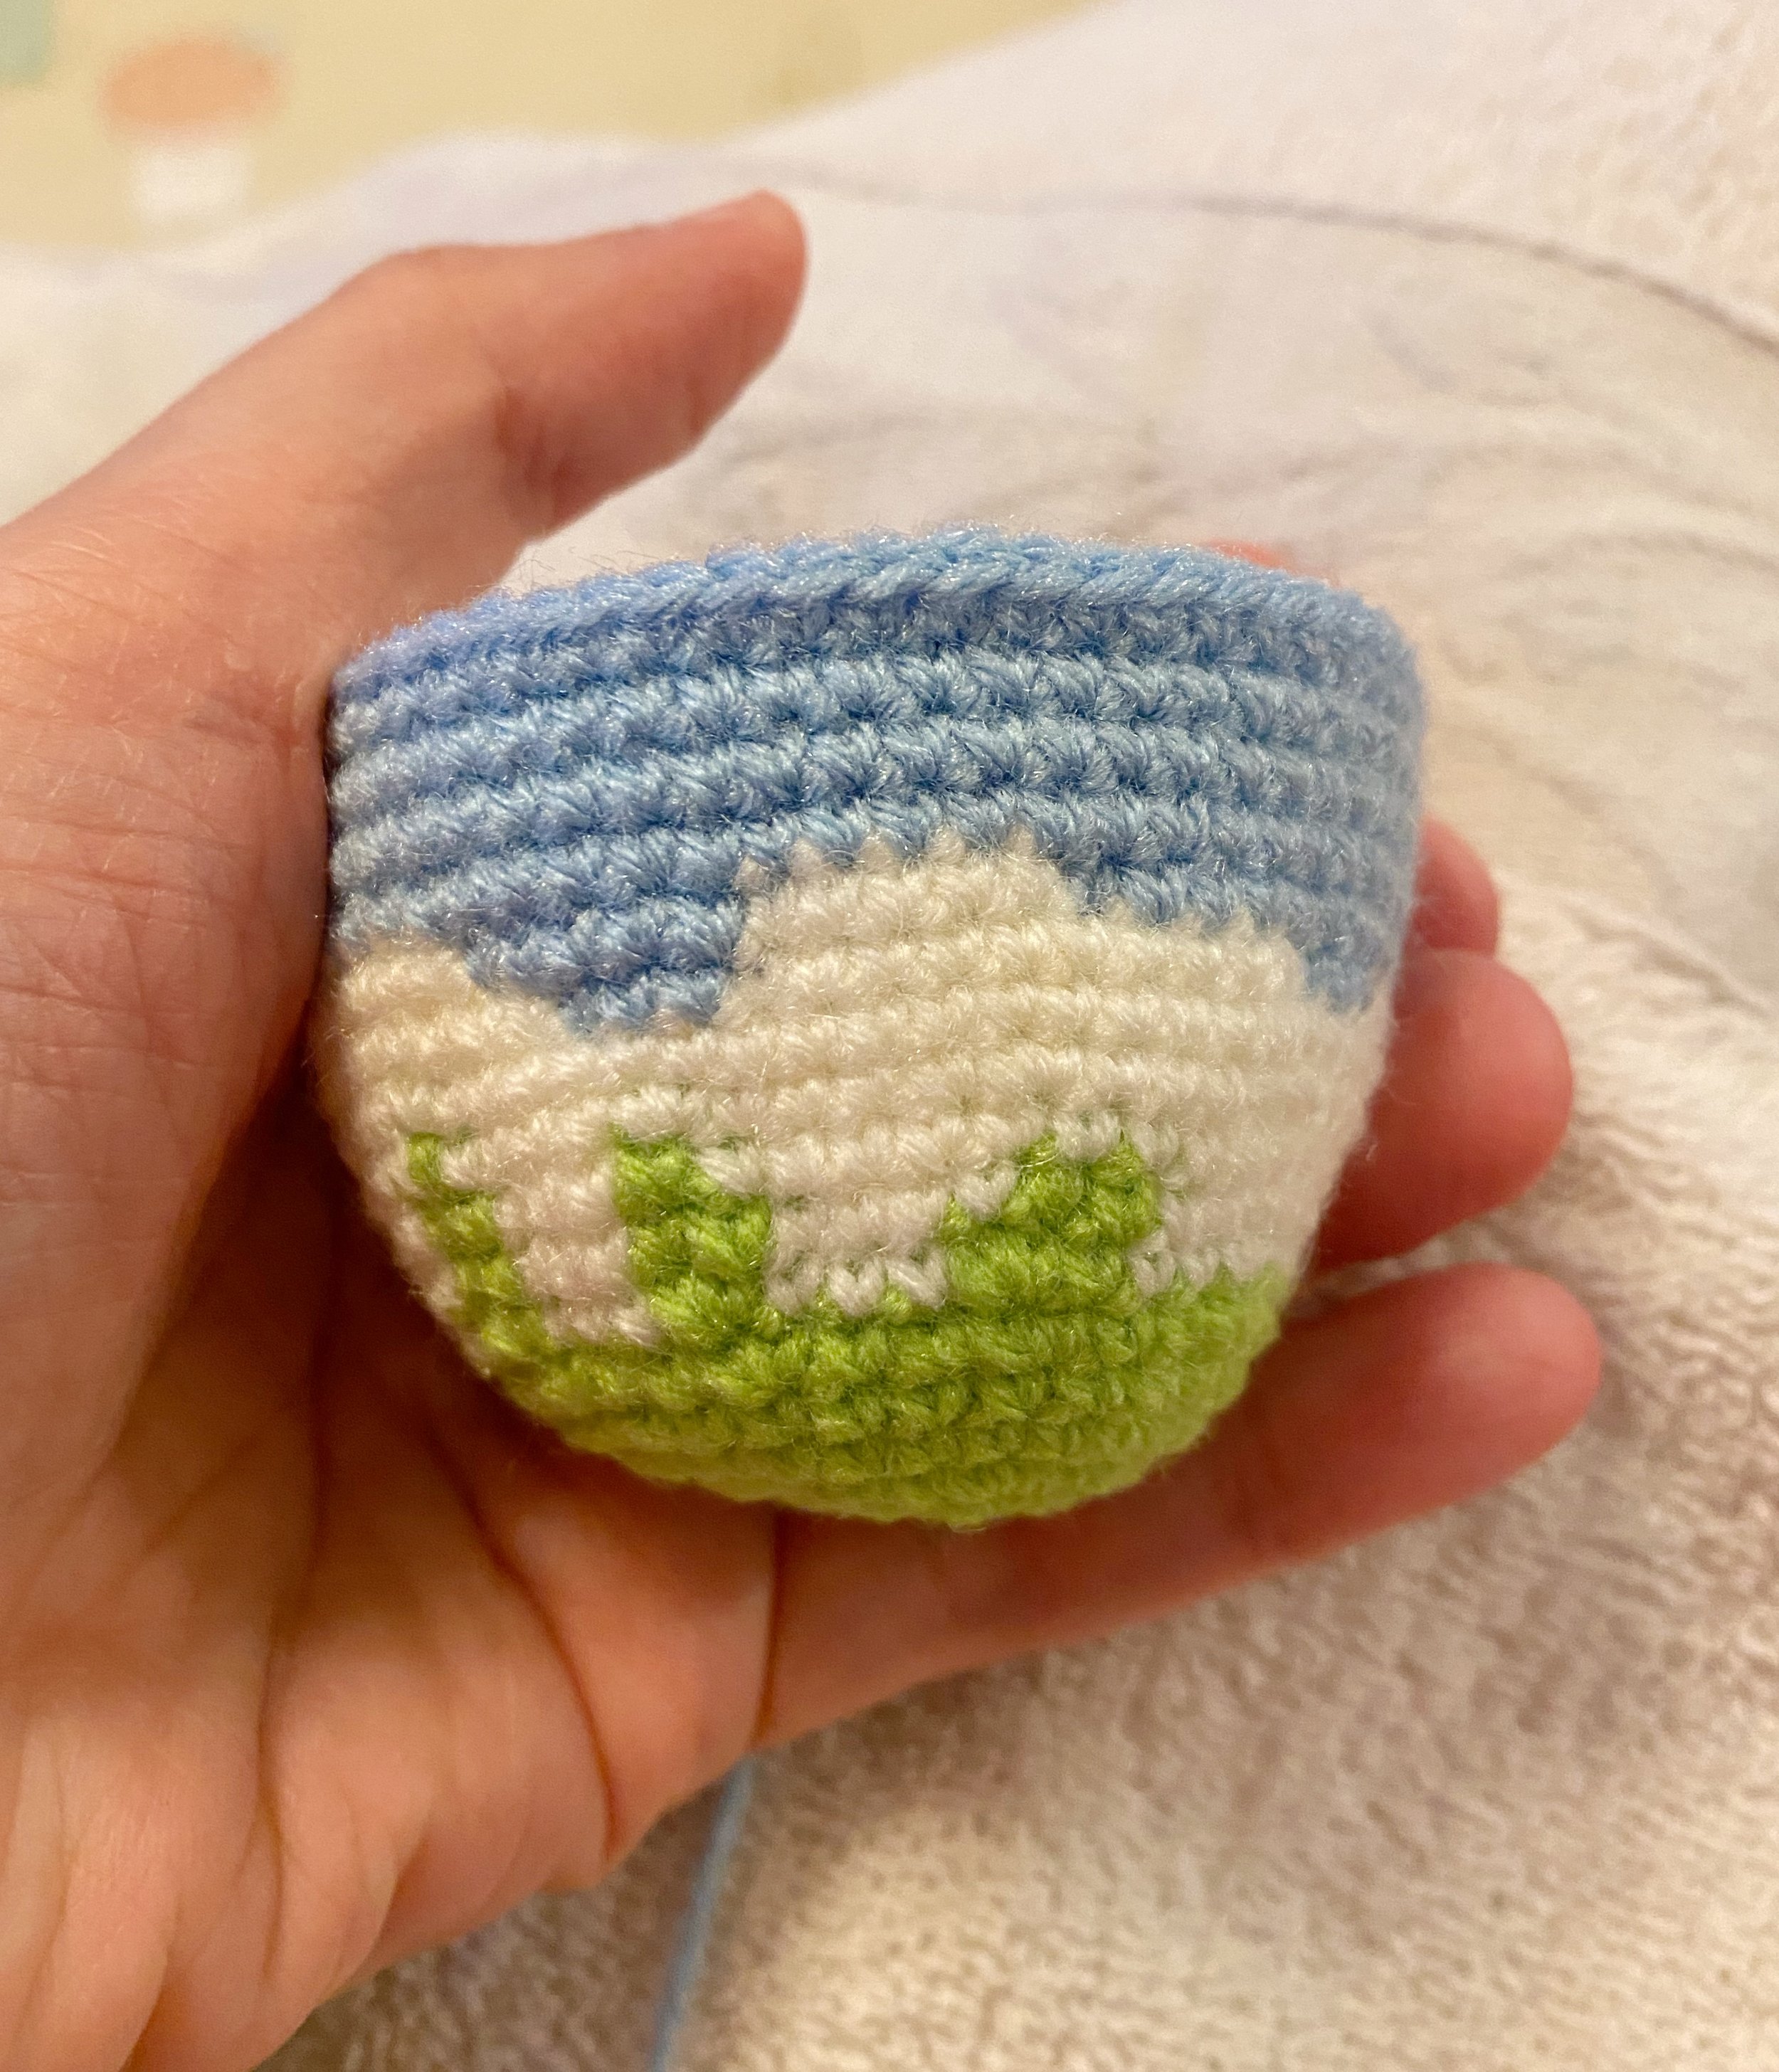
Traditionally for the previous sets I had made, the tent, loghouse and ice cream truck was all covered on the inside with white yarn. The crochet pattern for the external surface and internal surface where similar save for a few rows lesser on the inside. This time, I decided to repeat the same pattern for the inside as well, and to make it fit, I removed the bottom 3 rows so that it could sit inside the egg nicely.
Because the ‘right’ side is now on the inside and the ‘wrong’ side is on the outside, the colour changes in the yarn appears as below. Not too pretty right, but it didn’t really matter in the end because the whole piece was going to rest on the internal surface of the egg, and be joined up with the external surface. So this part will definitely be concealed, just like the inside of amigurumis.
7) Joining up the completed pieces
After completing the top and bottom pieces, I decided to sew one end together using whipstitch technique. The other end is the open side with a small button and a single chain wrapped around it to close it shut. Mastering the opening and closing of the egg is something my little one is getting better at!
The final Easter Egg piece! What do you think? I had a lot of fun cooking this up and I probably will add more colour work to my amigurumi containers in the future!
If you want to get an idea of the pixel graph I created, go and grab this free downloadable printable meant for pixel art colouring. It does not exactly fit the dimensions of the original egg as I converted it into rectangular format. It’s all good fun and quick to download too!


