Free Duck Pattern!
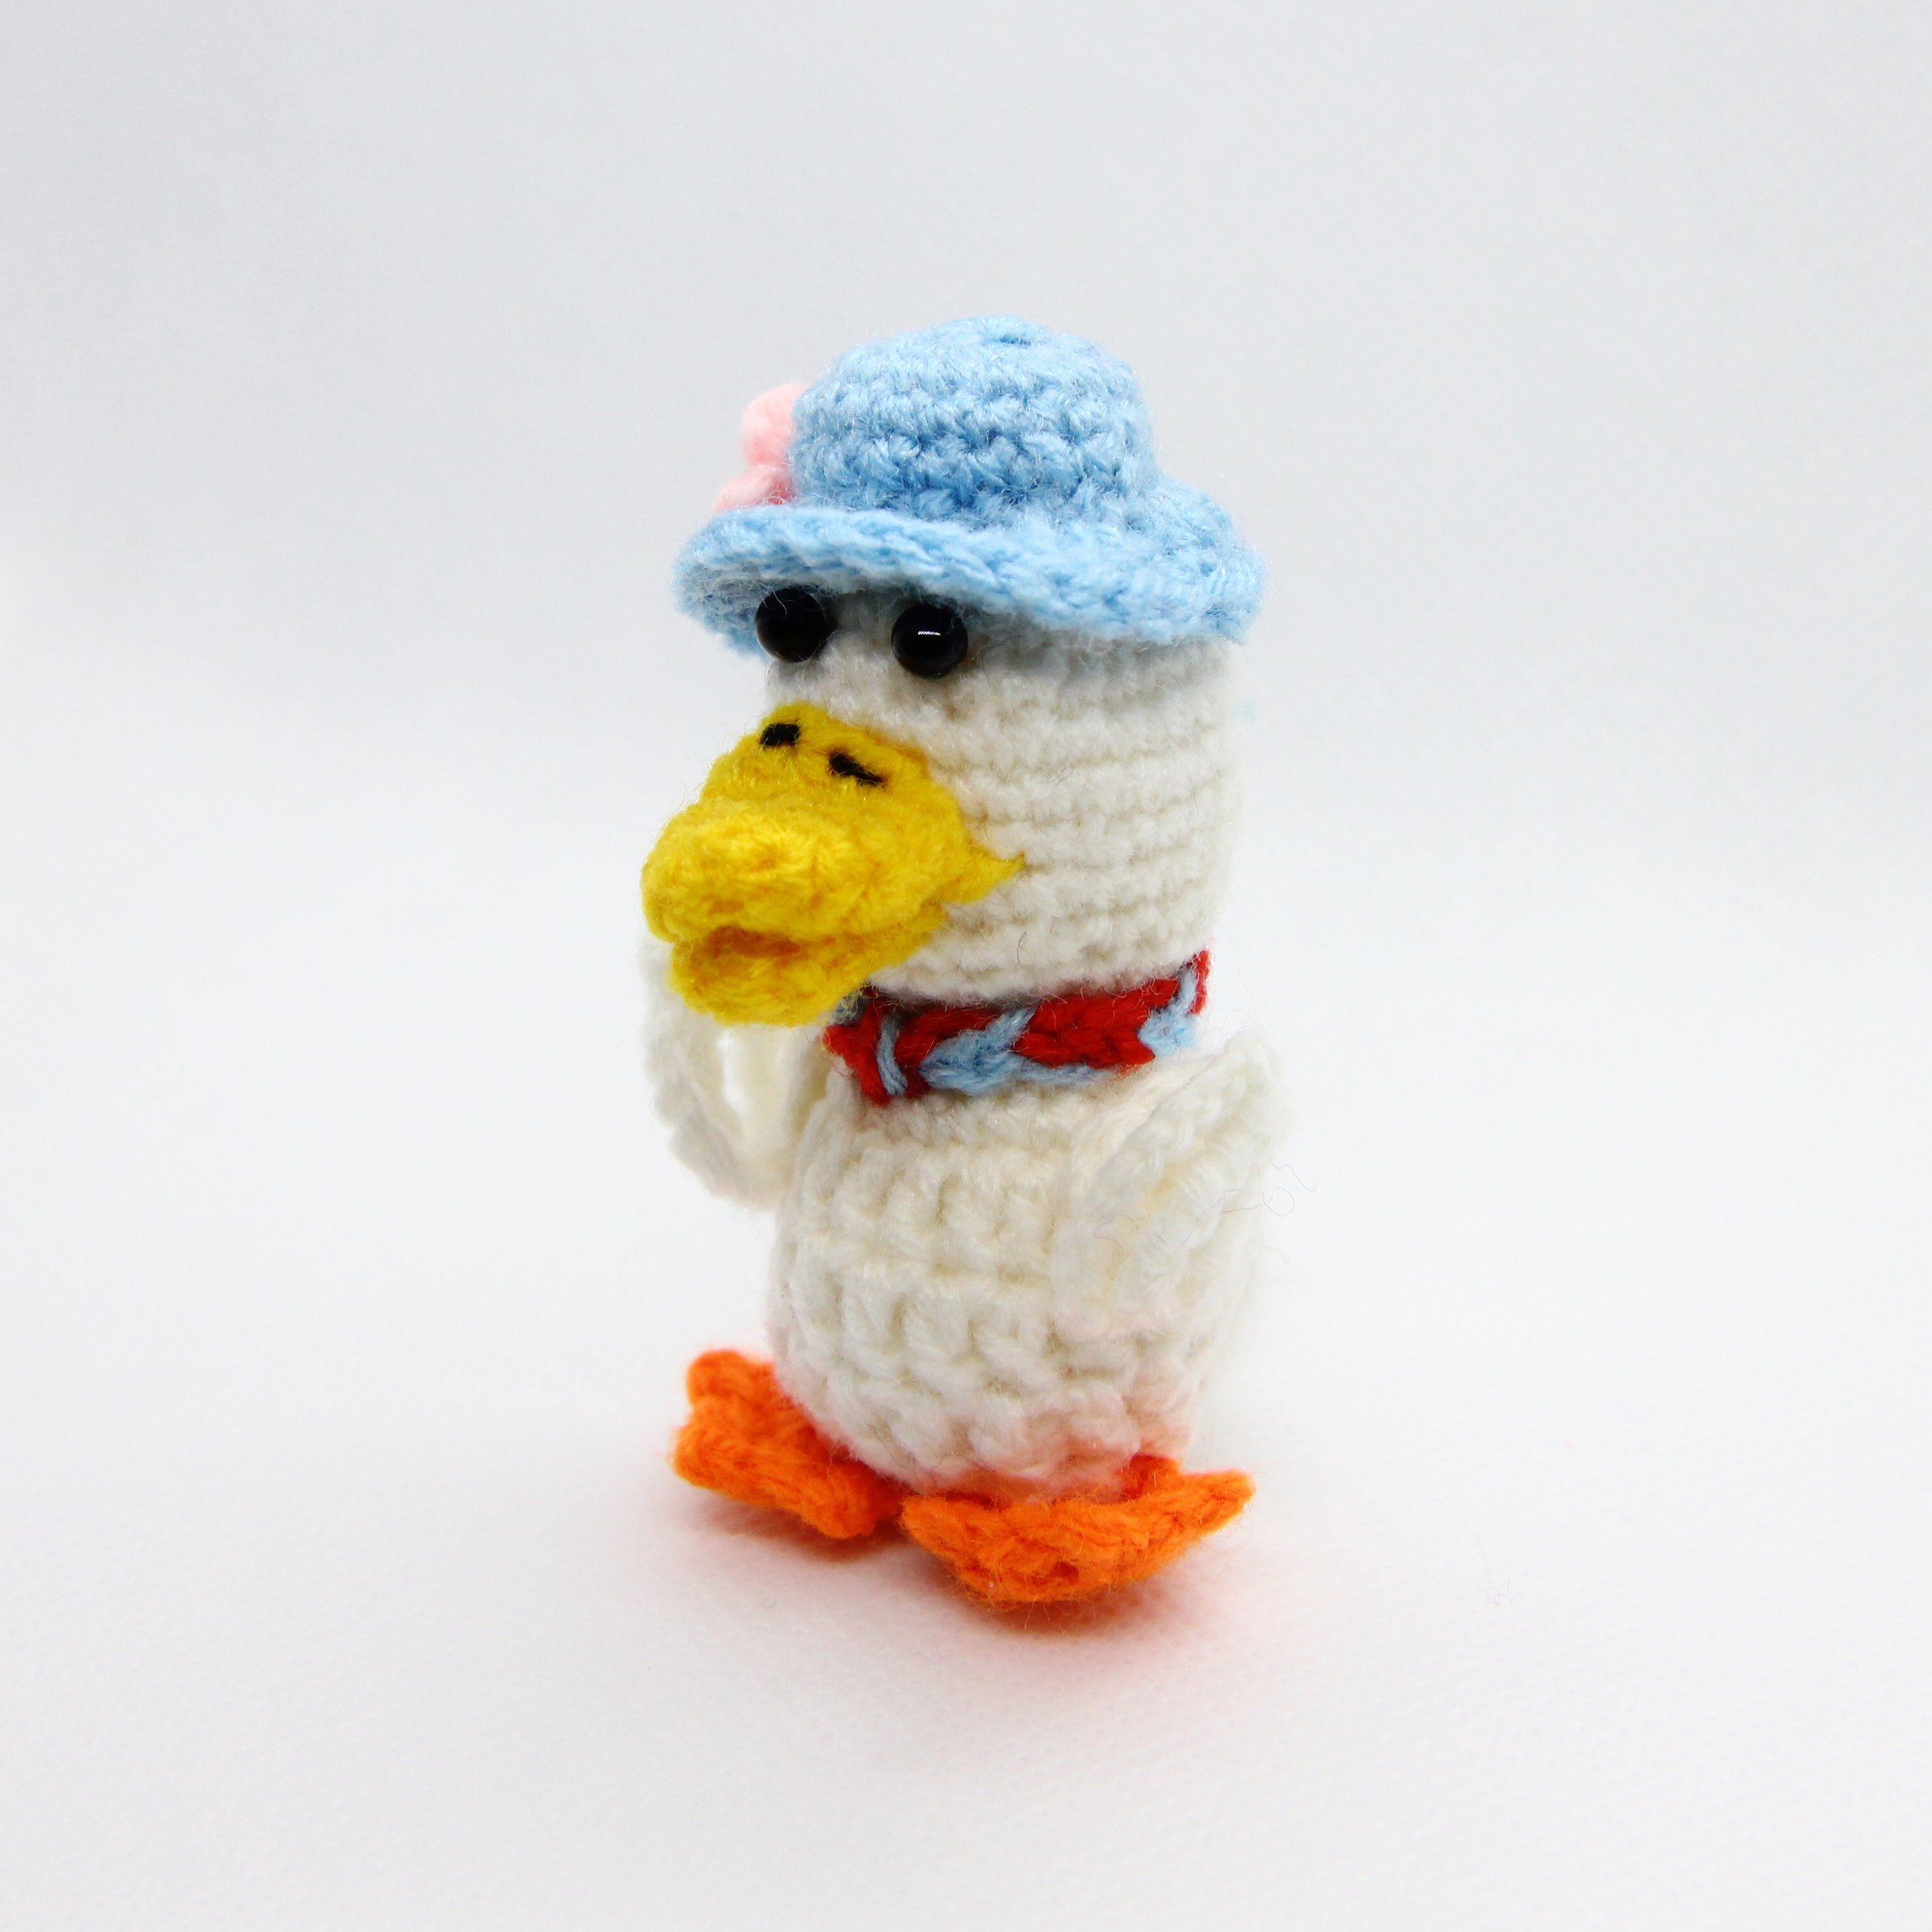
My latest free pattern and isn’t she a pretty little duck? There are quite a few components here including her beak, wings, webbed feet, hat and even her flower on her hat! They all work up individually and have to be attached together so I would say there is a fair amount of assembling to do here.
Terminology
Ch = chain
Sc = single crochet
Sl st = slip stitch
St = stitch (refers to number of stitches in one round)
Hdc = half double crochet
Dc = double crochet (yarn over 1x)
Tr = treble crochet (yarn over 2x)
Dtr = double treble crochet (yarn over 3x)
Ttr = triple treble crochet (yarn over 4x)
Qtr = quadruple treble crochet (yarn over 5x)
Sc2tog1 = single crochet decrease
2sc = single crochet increase (2 single crochet in same st)
FLO = front loop only
BLO = back loop only
Special stitches
Bob = 3dc bobble stitch
= yo, insert hook in indicated, yo, pull up loop, yo, draw through 2 loops, [yo, insert hook in same, yo, pull through 2 loops] 2 times, yo, pull through 4 loops on hook
Surface sc = surface single crochet
holding working yarn behind piece, hook in front of piece, insert hook through piece, yo, pull yarn through piece, proceed to sc
Materials and Tools
2.0mm Clover crochet hook
Orion Top Deluxe Yarn, Crown Yarn (or any equivalent acrylic yarn)
White, yellow, light blue, red, orange, light pink
Darning needle
Stitch markers
Filling – use leftover yarn or polyester fiberfill
Scissors
Glass eyes x 2 - 2 for eyes, 4mm size
Duck’s Head
Using white yarn to make the duck’s head.
Rnd 1: Magic ring 6 — 6st
Rnd 2: 2sc6 — 12st
Rnd 3: Sc12 — 12st
Rnd 4: (Sc1, 2sc1) x 6 — 18st
Rnd 5: Sc18 — 18st
Rnd 6: (Sc2, 2sc1) x 6 — 24st
Rnd 7: Sc24 — 24st
Rnd 8: (Sc3, 2sc1) x 6 — 30st
Rnd 9: Sc30 — 30st
Rnd 10: (Sc3, Sc2tog1) x 6 — 24st
Rond 11: Sc24 — 24st
Rnd 12: (Sc2, sc2tog1) x 6 — 18st
Rnd 13: Sc18 — 18st
Rnd 14: (Sc1, sc2tog1) x 6 — 12st
Rnd 15: Sc12 — 12st
Body
Continue into body from head using white yarn again.
Rnd 16: 2sc12 — 24st
Rnd 17: Sc24 — 24st
Rnd 18: Sc8, dc8, sc8 — 24st
Rnd 19-21: Repeat round 18
Rnd 22: Sc 24 — 24st
Rnd 23: Repeat round 22 — 24st
Rnd 24: Sc2tog12 — 12st
Rnd 25: Magic ring 6 then 2sc6, to join up to Round 24 — 12st
Wings
Use white yarn to make the left wing first then the right wing. The step by step instructions for how to do this is available in the freebie vault, with all the other free resources I have. It is under the ‘Pointed Oval’ Section and available as a free PDF download.
Left wing
Ch2 – (hdc1 - dc1 – tc1 – dtc1 – ttr1 – qtr1) all in same 1st st – ch3 then sl st into 3rd ch from hook (to form pointed end) - ch7 – sl st onto original 1st st
Right wing
Ch13 – sl st into 3rd ch from hook – (qtr1 – ttr1 – dtc1 – tr1 – dc1 – hdc1) all in same 1st st
Beak
Use yellow yarn to make the beak and it is made up of the top and bottom beaks.
Top
Rnd 1: Ch4, sc2, 3sc1, rotate and go around, sc1, 2sc1 in last st — 8st
Rnd 2: Sc3, 2sc1, sc3, 2sc1 — 10st
Rnd 3: Sc10 — 10st
Rnd 4: Sc3, sc2tog1, sc3, sc2tog1 — 8st
Rnd 5: 2sc1, hdc3, 2sc1, sc4 (top part of beak) — 11st
Bottom
Rnd 1: Ch3, sc1, 3sc1, rotate and go around, 2sc1 — 6st
Rnd 2: Sc6 — 6st
Rnd 3-4: Repeat round 2
Flatten the top and bottom parts of beak and join them together (no stuffing required).
Webbed feet
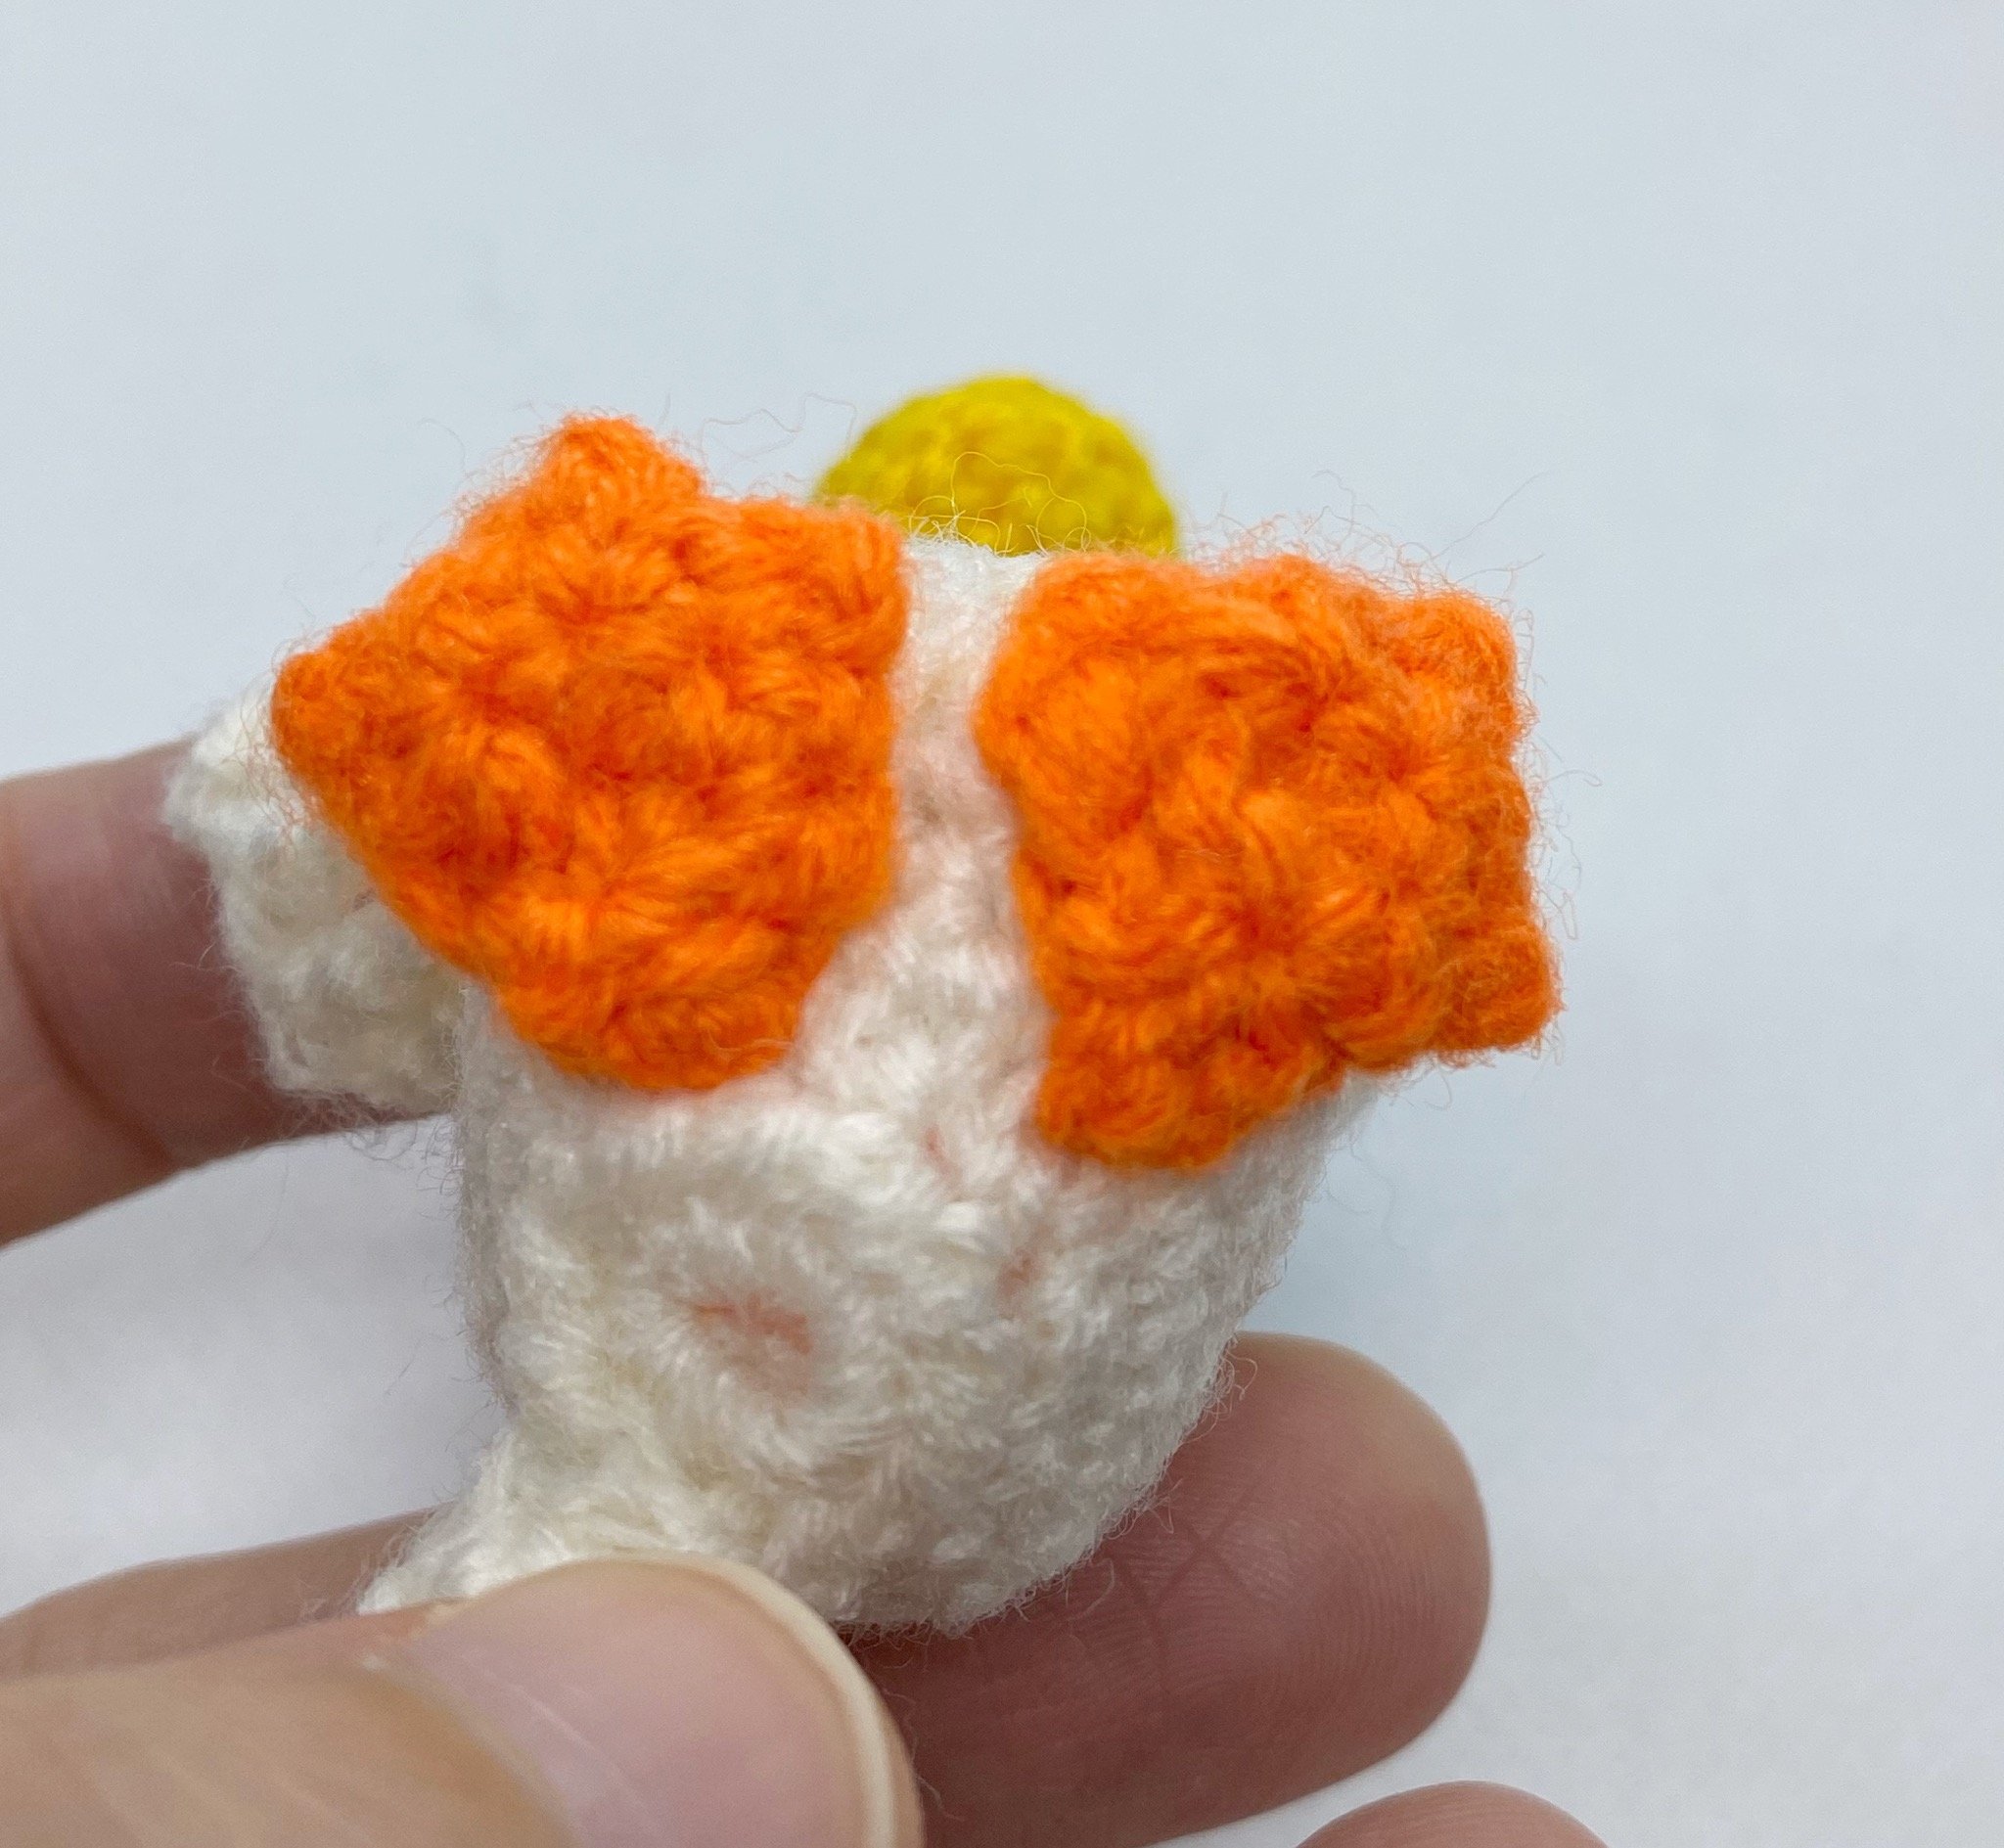
Use orange yarn to make a pair of webbed feet. Follow rounds 1-2 and then repeat again for the other foot.
Rnd 1: Magic ring 5
Rnd 2: Sc1, [(ch2 then sl st 1 backwards along ch), sc1 in next main ch] repeat 3x, sc1 in next main ch, (ch2 then sl st 1 backwards), sc1 in next main ch, sl st and end off
Scarf
The scarf is made up of red and light blue so get those 2 colours ready, you could always switch the colours!
Ch2 (red), ch2 (light blue), ch2 (red), ch2 (light blue), ch2 (red), ch2 (light blue), ch2 (red), ch2 (light blue), ch2 (red), ch2 (light blue) – 20st
Hat
Use light blue yarn to make the hat.
Rnd 1: Magic ring 5
Rnd 2: 2sc5 — 10st
Rnd 3: 2sc10 — 20st
Rnd 4: Sc20 — 20st
Rnd 5: repeat round 4 — 20st
Rnd 6: (Sc2, sc2tog1) x 5 — 15st
Rnd 7: Ch2, 2dc1 in 1st st, 2dc14, join up by sl st to top of ch2 – 30st
Flower on hat
Use light pink yarn to make the flower that will be placed on the hat.
Ch3, 2dc1 into 1st ch, ch2, sl st into 1st ch
(Then ch2, 2dc1, ch2 and sl st into 1st ch of that row) repeat another 4 more times
Total 5 petals in flower
Tail
Use white yarn to make the tail.
Rnd 1: Ch2 and then sc3 — 3st
Rnd 2: Sc1, 2sc1, sc1 — 4st
Rnd 3: (Sc1, 2sc1) x 2 — 6st
Rnd 4: (Sc1, 2sc1) x 3 — 9st
Rnd 5: (Sc2, 2sc1) x 3 — 12st
Rnd 6: Dc6, sc6 — 12st
Rnd 7: Sc2tog6 — 6st
Assembly
Head
Attach joint beak somewhere halfway down the head.
Stitch on 2 small black horizontal lines across the top part of the beak.
Add in the glass eyes above 2 rows above beak.
Attach the small pink flower to the right side of the blue hat.
Join the hat onto head, optional. (I personally prefer headgear non-detachable so I don’t lose them.)
Neck
Wrap scarf around neck and join up in the front.
Body
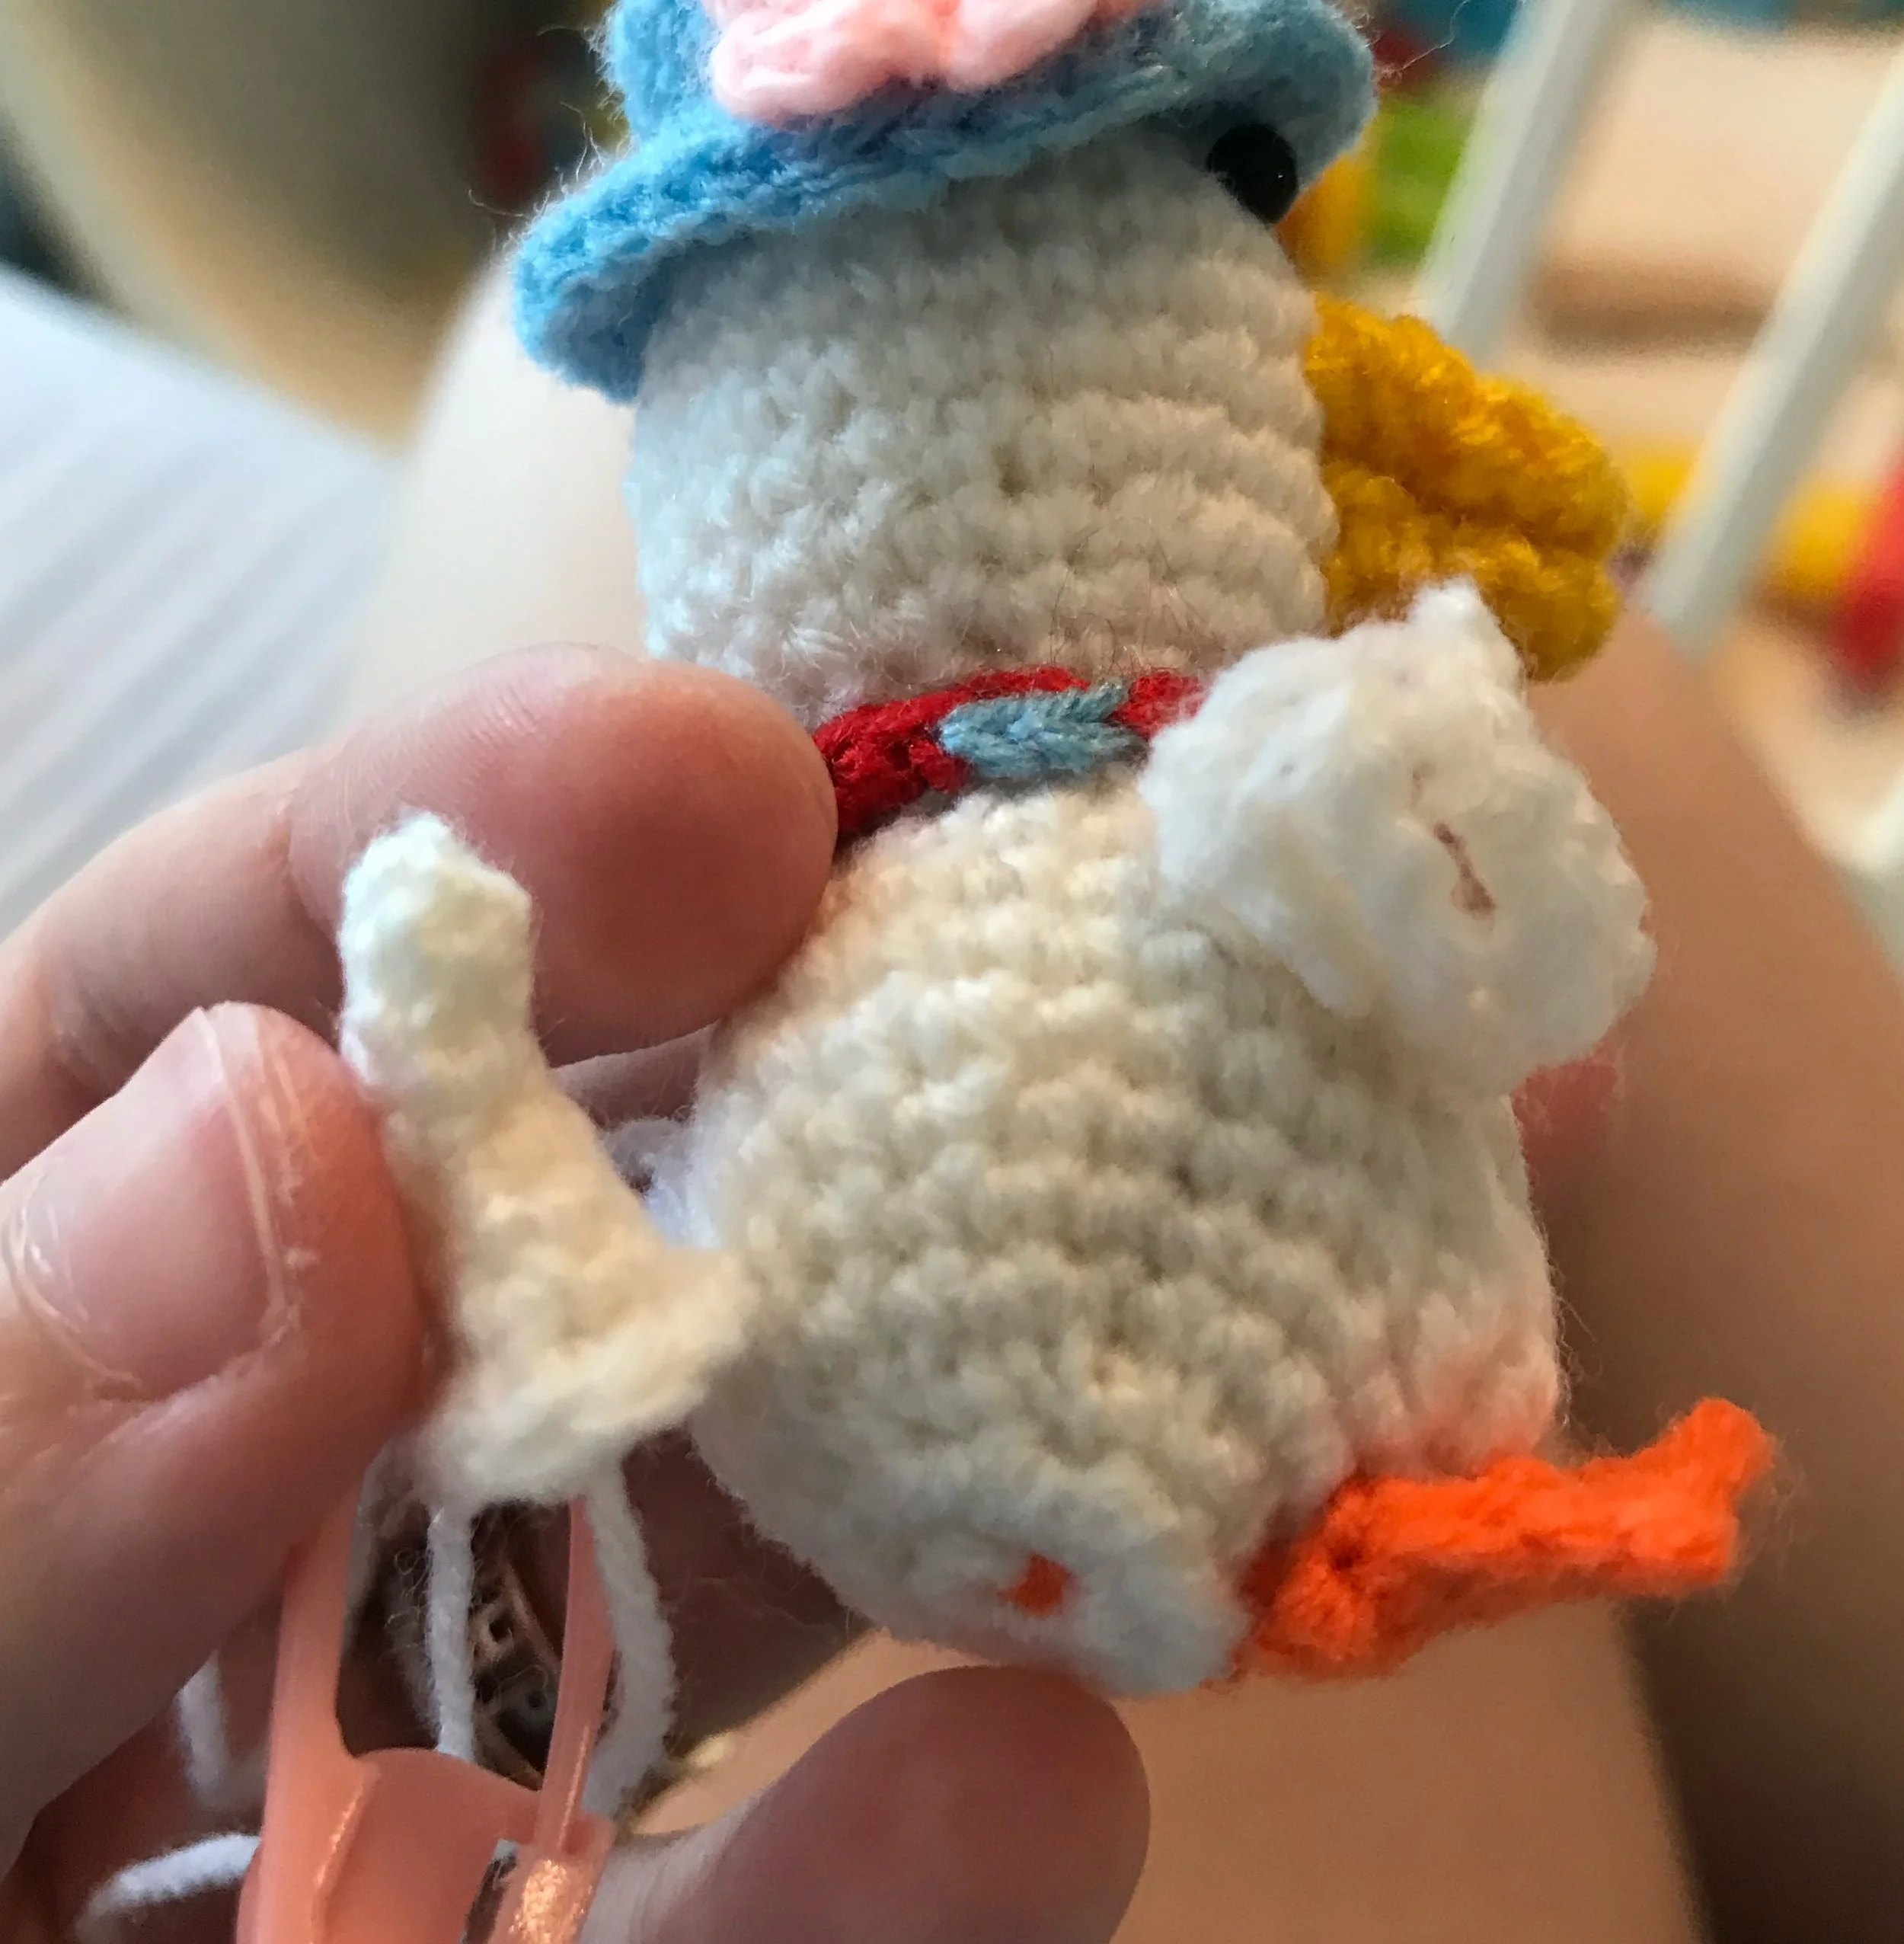
Attach left wing over left side of body, and the corresponding right side as well.
Add the webbed feet to the front bottom of the body.
Attach the tail to the back of the body, midway and right at the bottom.
Disclaimer: You may link to this pattern from your website but please do not repost it onto your page. You can tag us @pocketyarnlings on Instagram or share a picture once you have completed it. Hope you have fun making it!
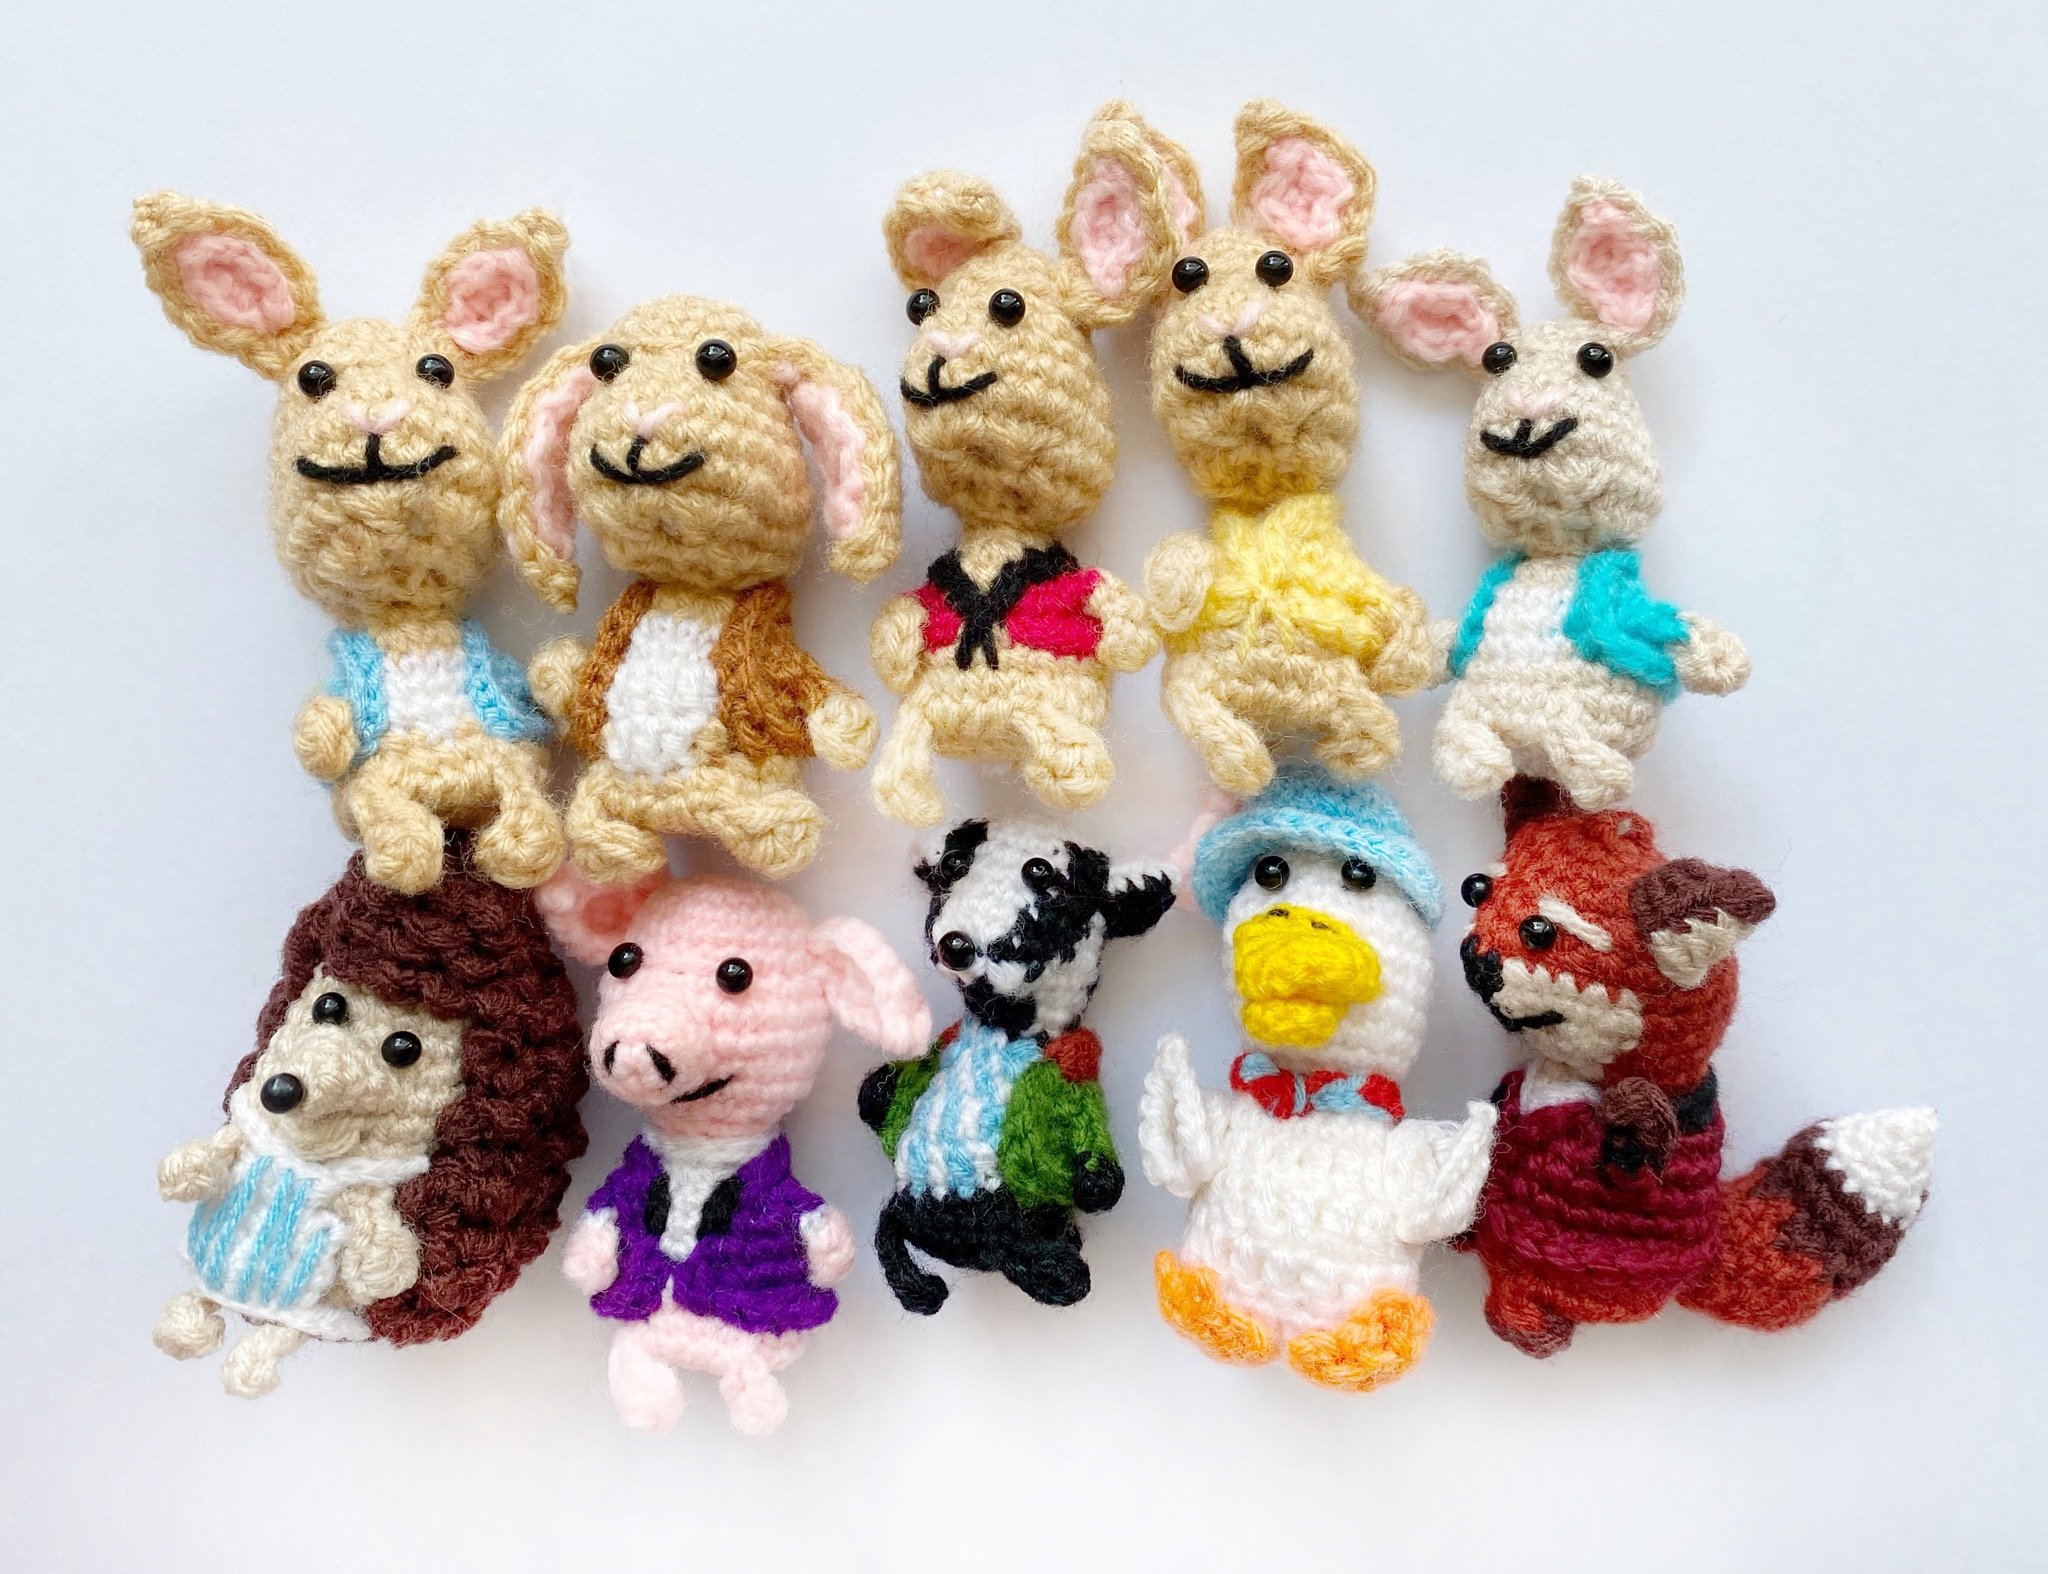
Here is the full set of farm animals! I intend to phase out some of my older collections soon, trying to be more creative and come up with non character sets instead. I will use a lot of the old techniques I used in my previous collections so that will come up from time to time.
The full set of farm animals are here! Remember to tag me @pocketyarnlings so I can see your Duck makes!


